Easy Halloween Rocks: A Fun Painting Journey for All
Ever wondered how to turn a simple stone into a spooky Halloween masterpiece? I did too.
It only takes a few steps, some paint, and your imagination. That’s it.
In this guide, I’ll show you exactly how to make easy Halloween rocks, using a simple Halloween rocks step-by-step method that’s fun, creative, and beginner-friendly.
What Are Halloween Rocks?
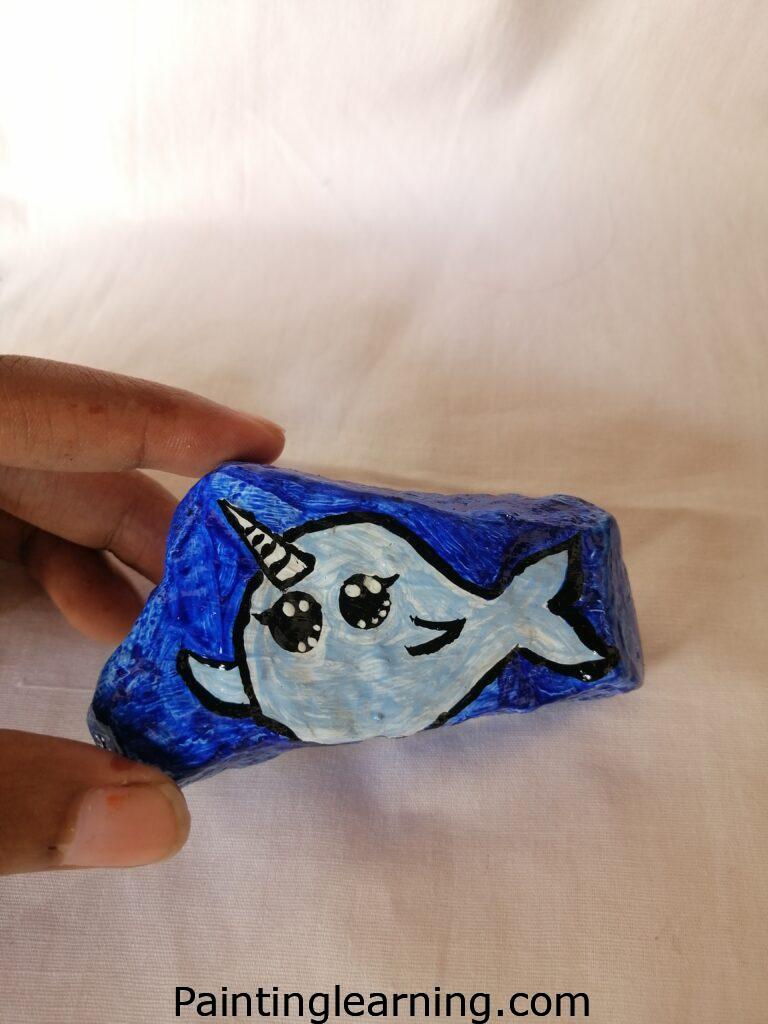
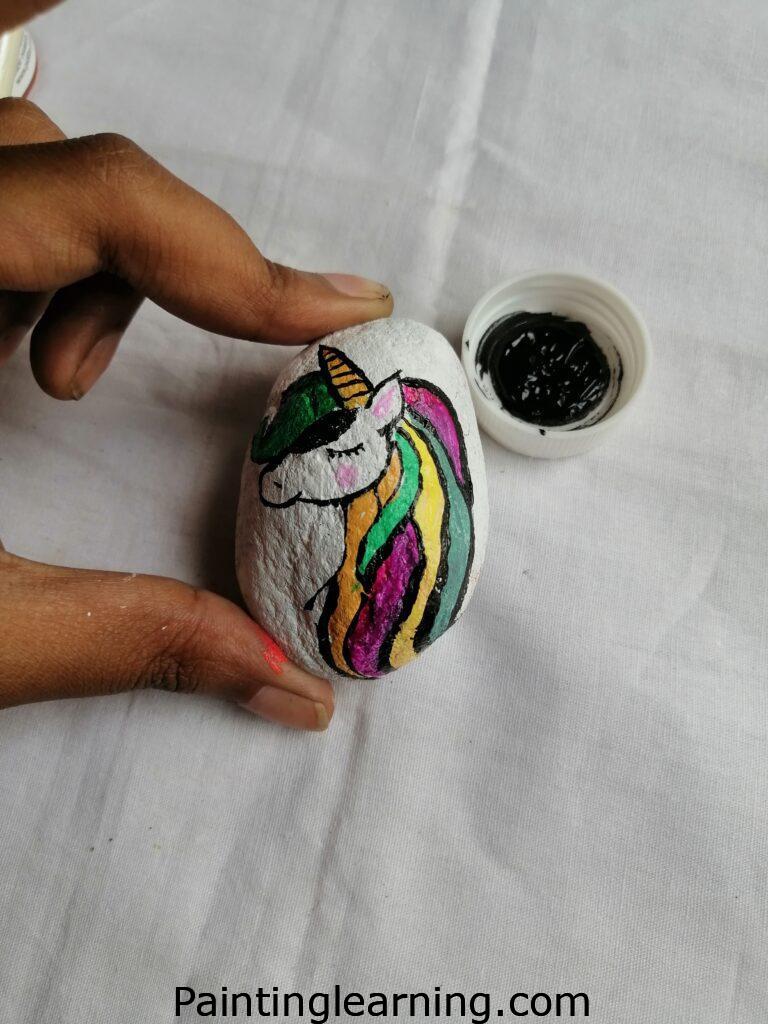
Halloween rocks are just ordinary stones turned into mini canvases. With a little acrylic paint and creativity, you can make spooky pumpkins, ghosts, bats, or even candy corn faces.
I started painting them one rainy October afternoon—and trust me, it’s strangely addictive. Whether you’re decorating your porch or hiding them around the neighborhood for others to find, Halloween rock painting brings a playful, seasonal touch to any setting.
It’s the perfect project for families, solo crafters, and even classrooms.
Key Terms to Know
Before we start, here are a few terms you’ll see:
- Base Coat: The first layer of paint that covers the rock completely.
- Detail Brush: A thin brush used for drawing fine lines, like faces or outlines.
- Acrylic Paint: A fast-drying paint that works great on rocks.
- Varnish: A clear coat that seals your design and protects it from weather or wear.
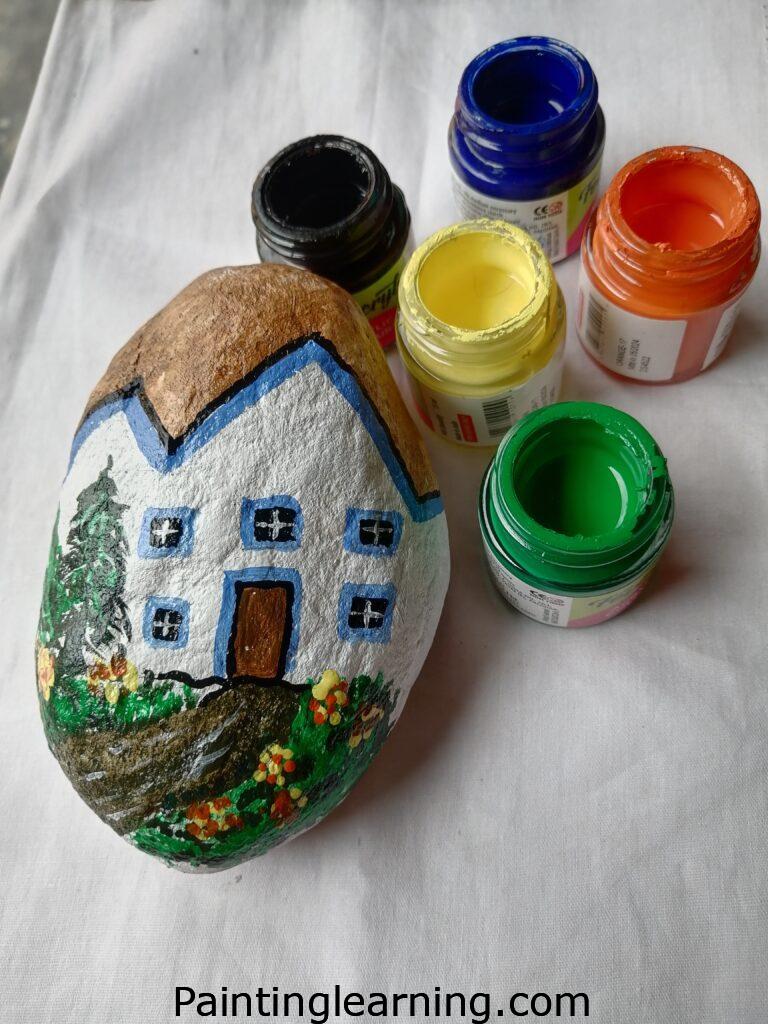
Materials Needed
Let’s talk about supplies. You don’t need a huge kit to make Halloween rocks, but having the right tools helps.
| Item | Purpose | Details |
|---|---|---|
| Rocks | Painting surface | Smooth, flat rocks work best |
| Acrylic Paint | For coloring the rocks | White, orange, green, and black |
| Paint Brushes | To apply paint and details | Flat brush + fine detail brush |
| Varnish | To seal and protect your design | Clear, water-resistant, matte/gloss |
| Water Cup | Rinsing brushes | Keep brushes clean between colors |
| Paper Towels | For blotting and clean-up | Essential for quick fixes |
| Palette Plate | Mixing paint | A paper plate or plastic lid works |
How to Paint a Halloween on a Rock
Alright, let’s get into it. Here’s the simple Halloween rocks step-by-step guide I use every October:
Step 1: Apply the Base Color
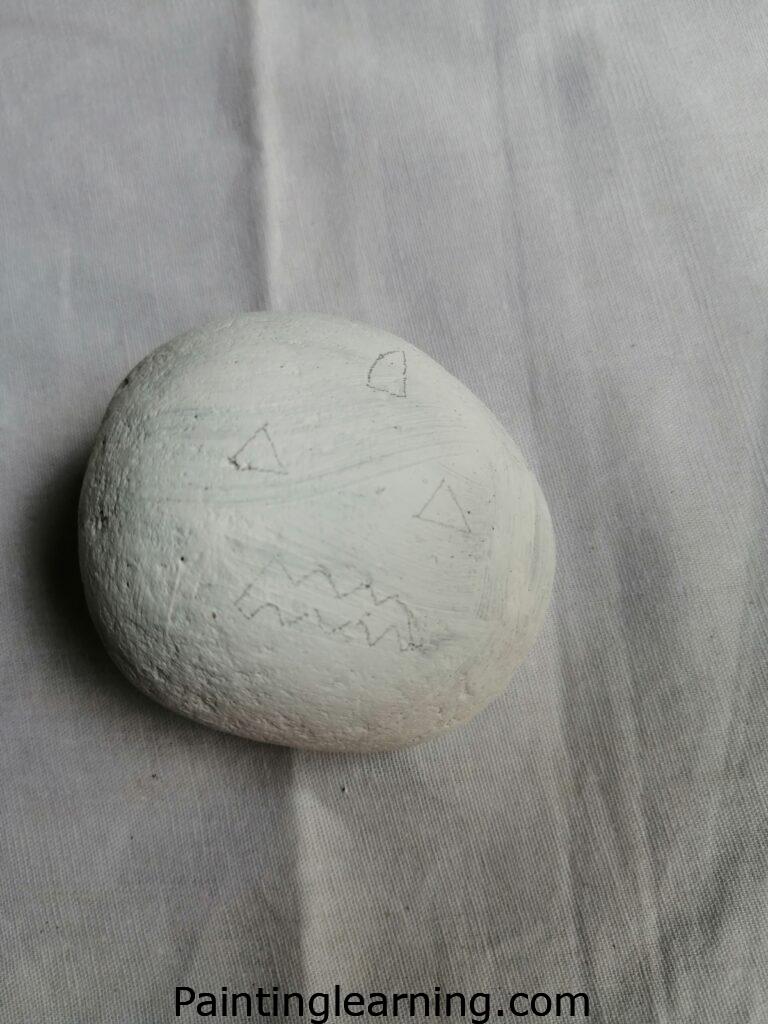
Start with white paint. Cover the whole rock evenly using a flat brush. This base makes the colors pop. Let it dry fully.
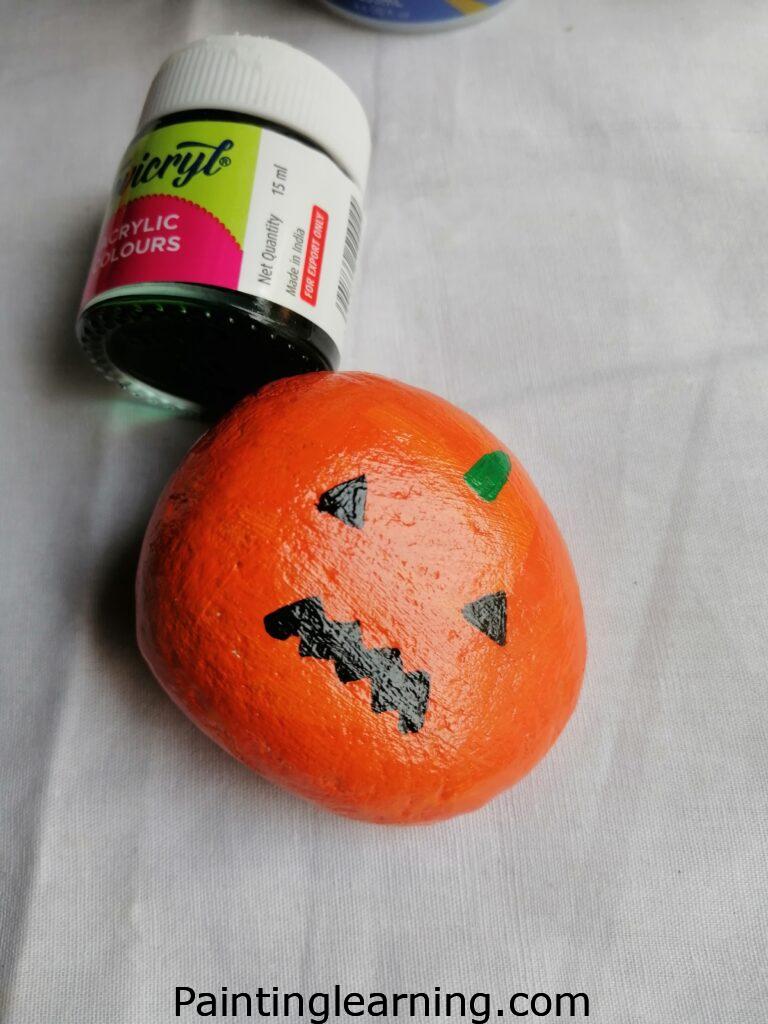
Step 2: Add the Orange Layer

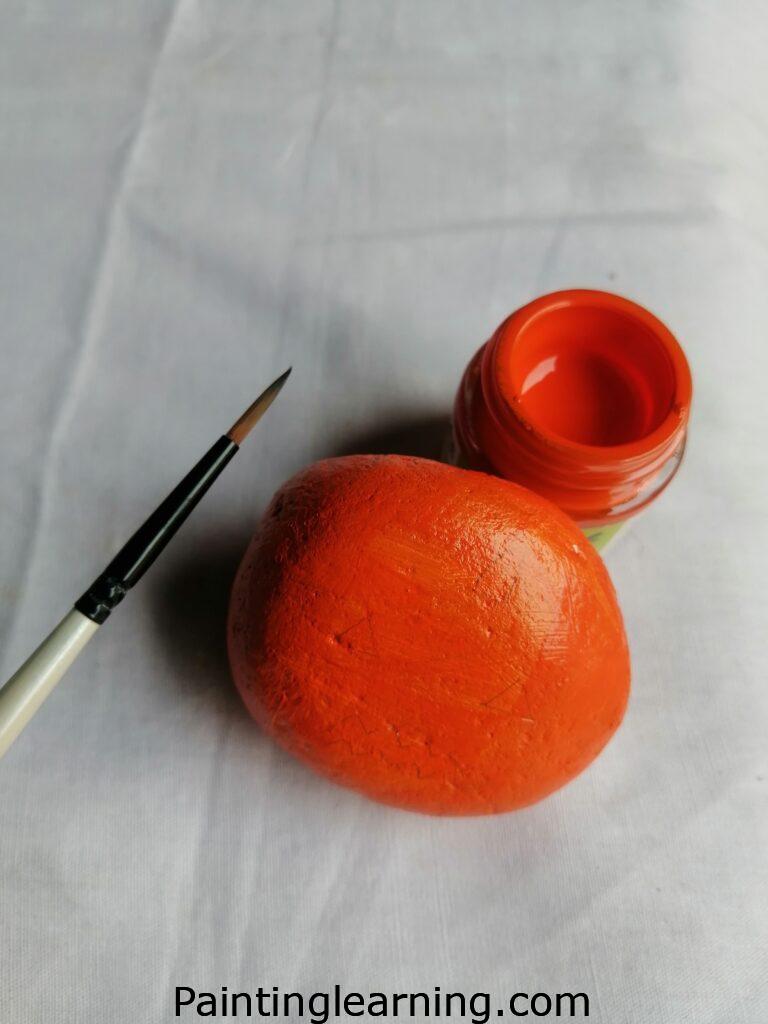
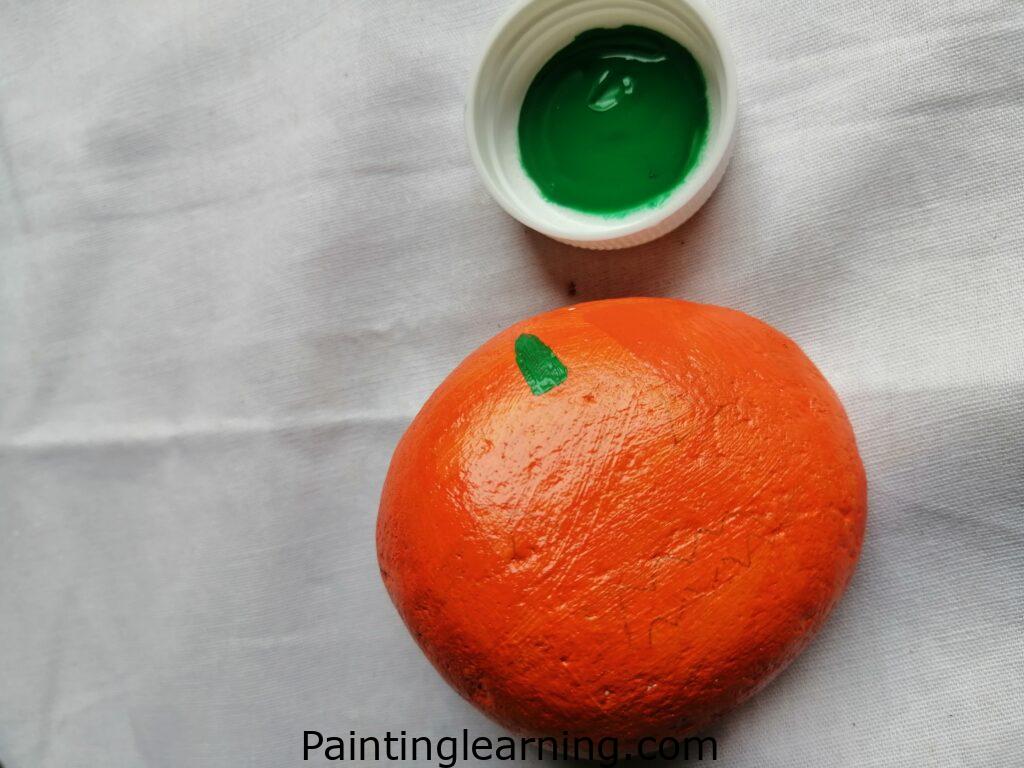
Once the white is dry, go over it with a rich orange coat. This sets the stage for that classic Halloween pumpkin vibe. Again, let it dry before moving on.
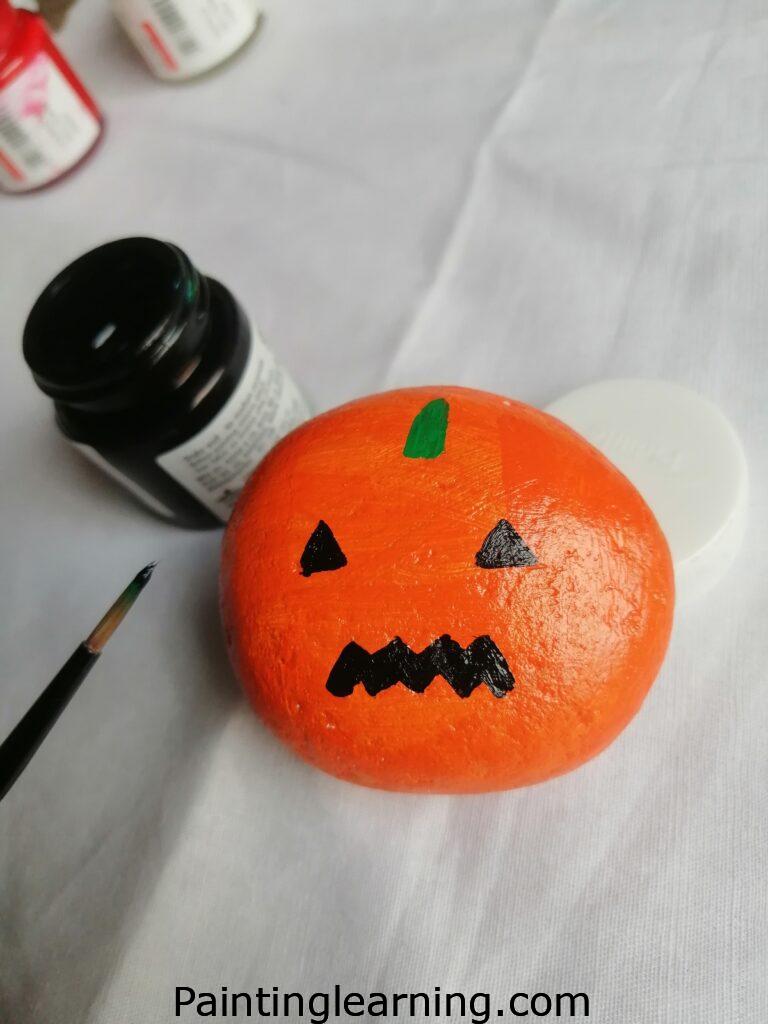
Step 3: Draw the Black Lines
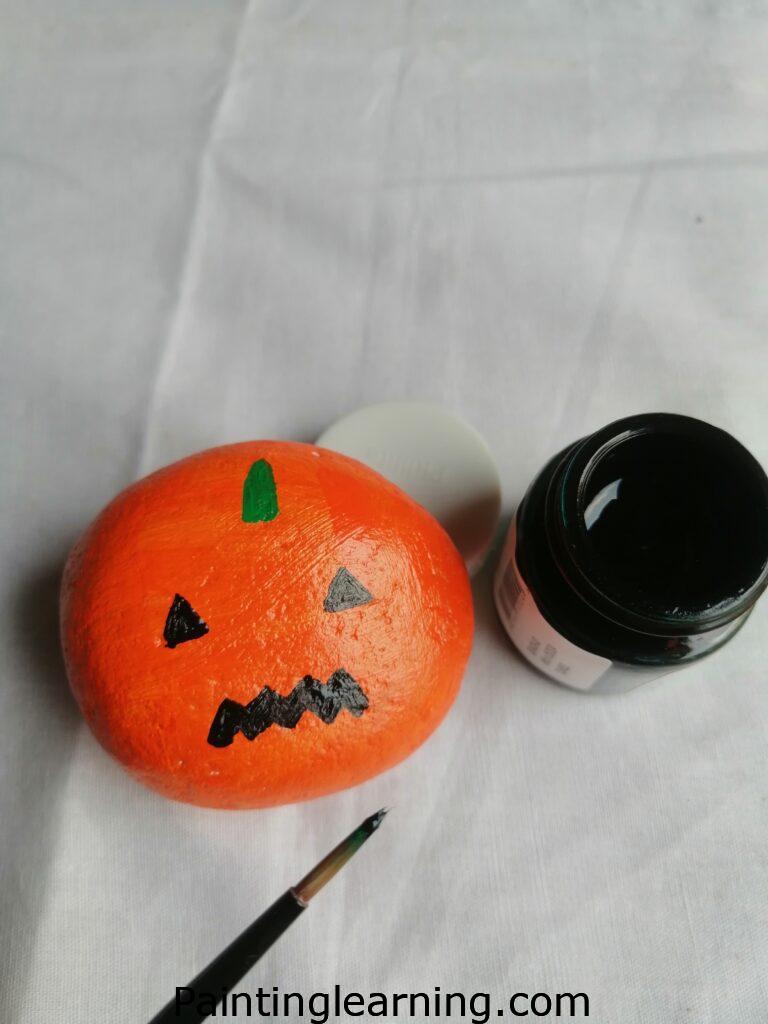
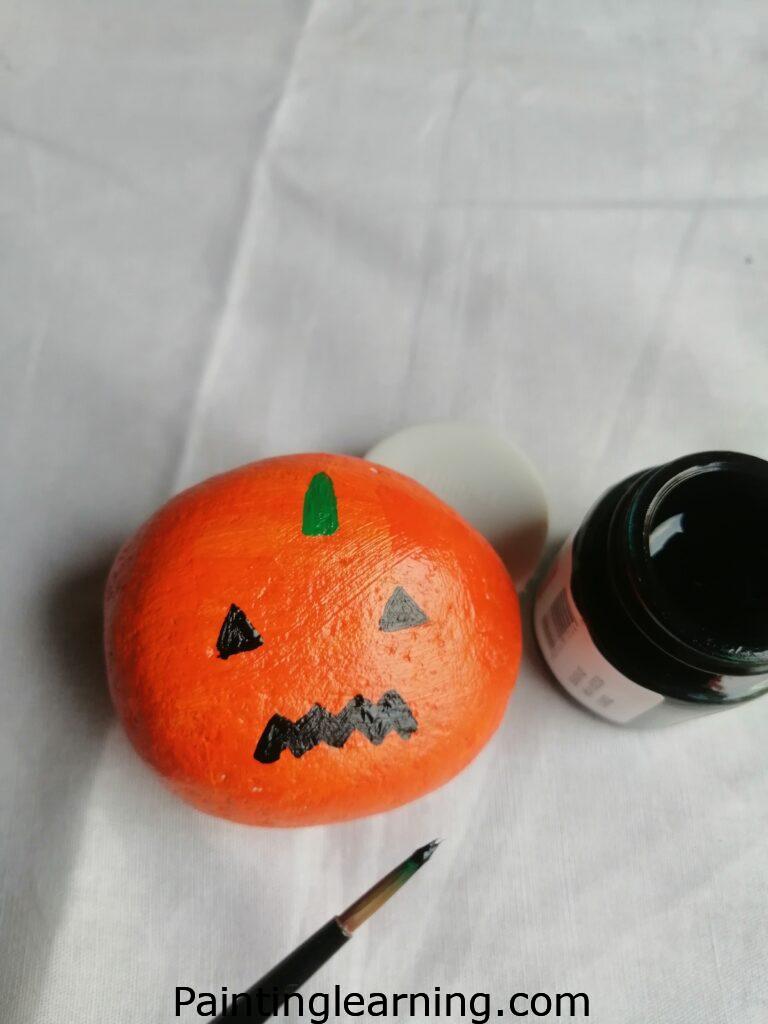
Now the fun part—details! Grab your detail brush and paint black lines: jack-o’-lantern faces, bats, or whatever creepy designs you like. Keep your hand steady, and don’t rush it. Let this dry completely.
Step 4: Seal with Varnish
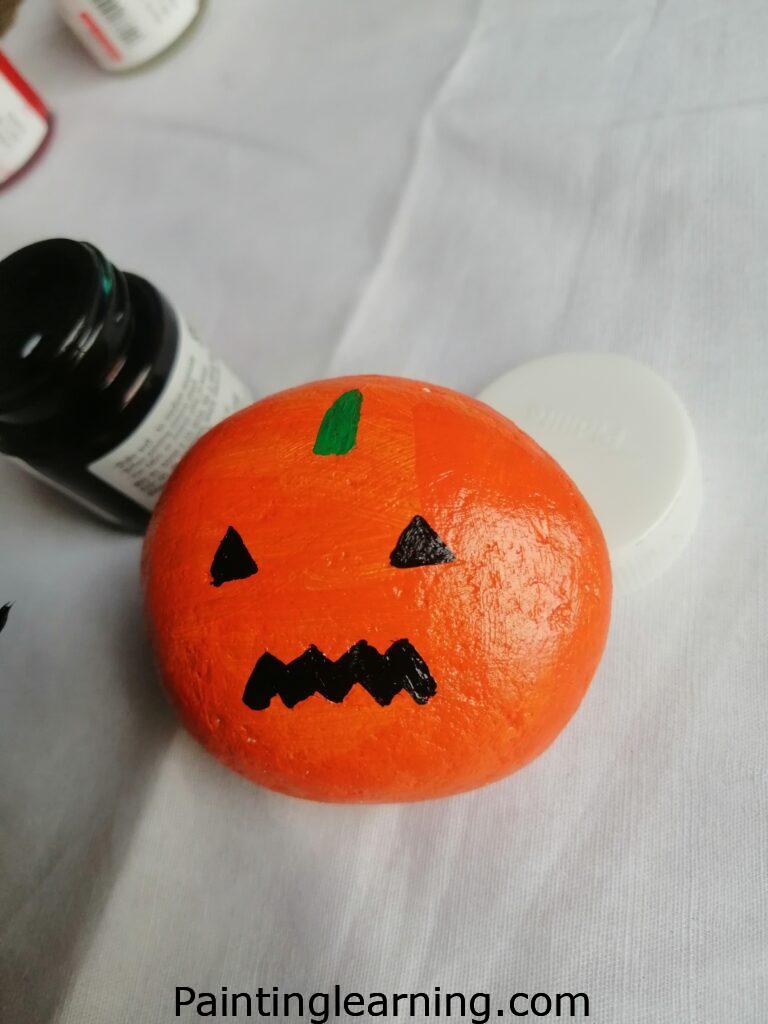
This final step locks everything in. Once your design is dry, gently brush on a layer of varnish. It adds a nice finish and keeps your artwork safe from scratches or rain.
That’s it. Your Halloween rock is ready!
Tips for Success
- Work in Layers: Let each paint layer dry fully before the next.
- Use Smooth Rocks: Uneven surfaces can distort your design.
- Test Brushes First: Always test your detail brush on scrap paper before painting on the rock.
- Clean Brushes Often: Especially when switching between colors.
Common Mistakes and How to Avoid Them
- Skipping the White Base: Without it, the colors might look dull.
- Fix: Always start with a white base coat.
- Rushing the Dry Time: Smudges happen when layers aren’t dry.
- Fix: Let each coat dry before moving to the next step.
- Overloading Brushes: Too much paint causes blobs.
- Fix: Dab off extra paint before applying it to the rock.
- Skipping the Varnish: Your design might fade or chip.
- Fix: Always seal your rock with varnish.
Similar Variations You Can Try
Halloween rocks are just the beginning. Here are a few other spooky variations:
- Ghost Rocks: Paint the rock white, then add black eyes and a mouth.
- Frankenstein Rocks: Green base, black hair, and white teeth.
- Spider Webs: Black base with thin white web lines.
- Witch Hats: Purple base, triangle hat shape in black with stars.
Want to level up? Try glow-in-the-dark paint for a chilling night effect.
FAQs
Can kids do this project?
Absolutely. Just supervise the varnishing step and use washable paints if needed.
What size rocks work best?
I like palm-sized rocks—easier to hold and paint.
Do I need to prime the rocks?
No primer needed if you use a white acrylic base coat.
Where can I find rocks?
Garden stores, beaches, or even your backyard. Just make sure they’re clean and dry.
Can I use markers instead of paint?
Yes, permanent paint markers work great for details. But you’ll still want a base coat and varnish.
Final Thoughts
Making easy Halloween rocks is more than just a craft. It’s a chance to slow down, get creative, and enjoy the season. With this Halloween rock painting instruction, anyone—from a first-timer to a seasoned DIYer—can create something cool and personal.
So grab your paints, pick out your rocks, and dive into this fun and spooky journey. Once you learn how to paint a Halloween on a rock, you’ll want to try new designs all month long.
Got a question or a cool variation? I’d love to hear how your Halloween rocks turned out.