Easy Frog Painted Rocks: A Fun Step-by-Step Guide
Ever wonder how simple rocks can turn into something magical? The answer is frog rocks. These little painted creations bring a spark of joy to anyone who sees them.
The best part? You don’t need to be an artist. With just a few colors and some patience, you can paint your own frog friend on stone.
And trust me, the process is relaxing. By the end, you’ll not only have frog rocks but also the satisfaction of making art with your own hands.
What Are Frog Rocks?
Frog rocks are ordinary stones transformed with paint to look like playful frogs. They’re part of the growing world of rock painting, where plain surfaces become mini canvases.
I like them because they combine nature and creativity. One moment, it’s a lifeless rock; the next, it’s a cheerful frog smiling up at you.
These projects are not just for kids. Adults find them relaxing, and they make charming decorations or thoughtful handmade gifts.
Key Terms Explained
To make sure everything is clear, here’s a quick rundown of terms you’ll see:
- Base Coat: The first layer of paint applied to the rock to prepare it for design.
- Detail Brush: A small, thin brush used for fine lines and outlining.
- Varnish: A clear finish applied at the end to protect the painting and make it shine.
Materials Needed
You don’t need expensive tools for this project. Just gather the basics. Here’s a detailed table to make things easier:
| Material | Description | Why It’s Important |
|---|---|---|
| Rocks | Smooth, flat stones | Provides the canvas for your frog design |
| Acrylic Paint (White, Black, Red, Yellow, Green) | Quick-drying, vibrant colors | The main paints for your frog’s body and details |
| Paint Brushes (Flat Brush, Detail Brush) | Flat brush for coverage, detail brush for fine lines | Helps achieve precision and smooth layers |
| Pencil | For sketching the frog outline | Ensures accuracy before painting |
| Varnish | Clear sealer | Protects and adds a polished finish |
Simple Frog Painted Rocks Step by Step
Here are the frog painted rock instructions that I personally follow. Don’t worry—it’s beginner-friendly.
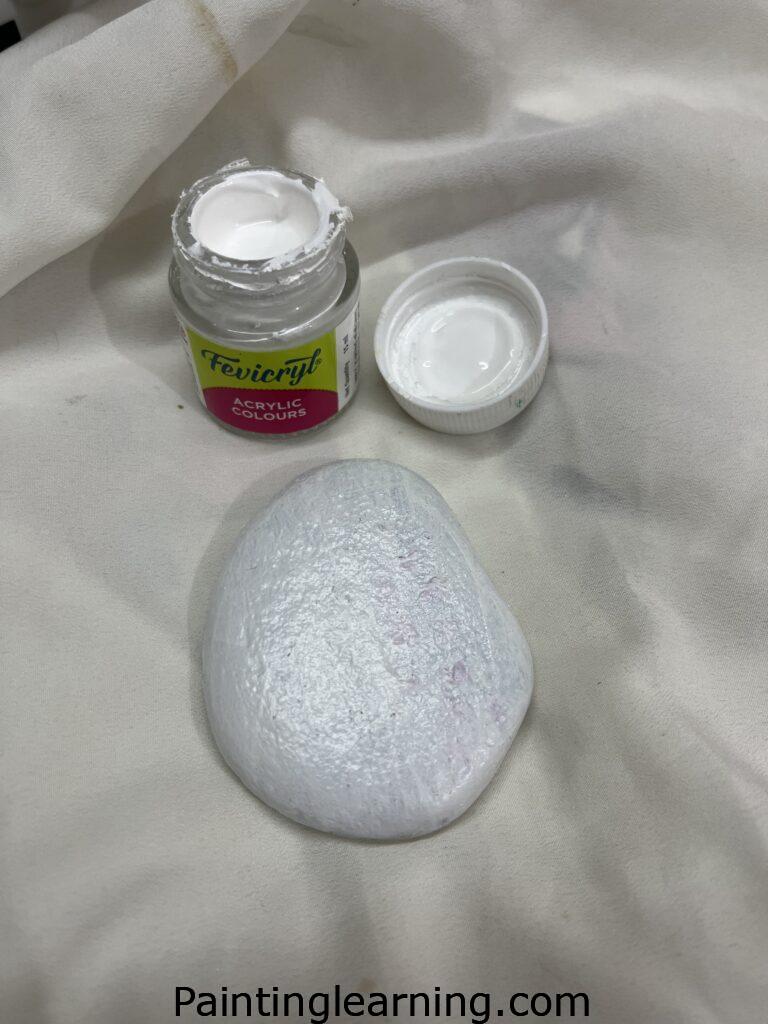
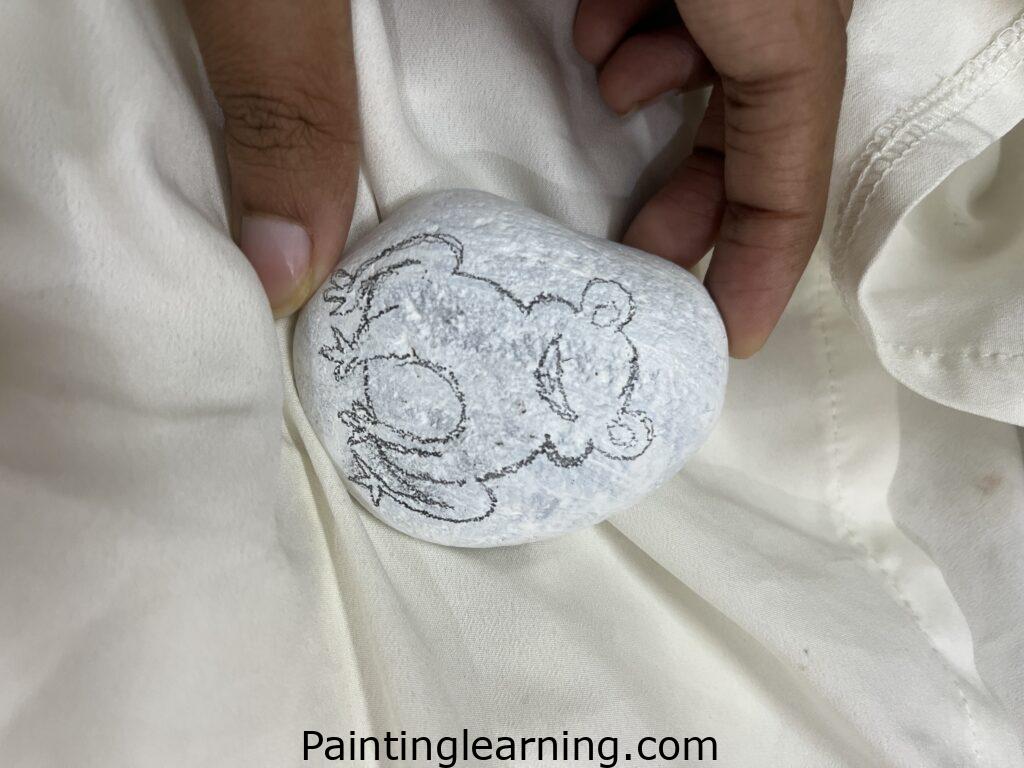
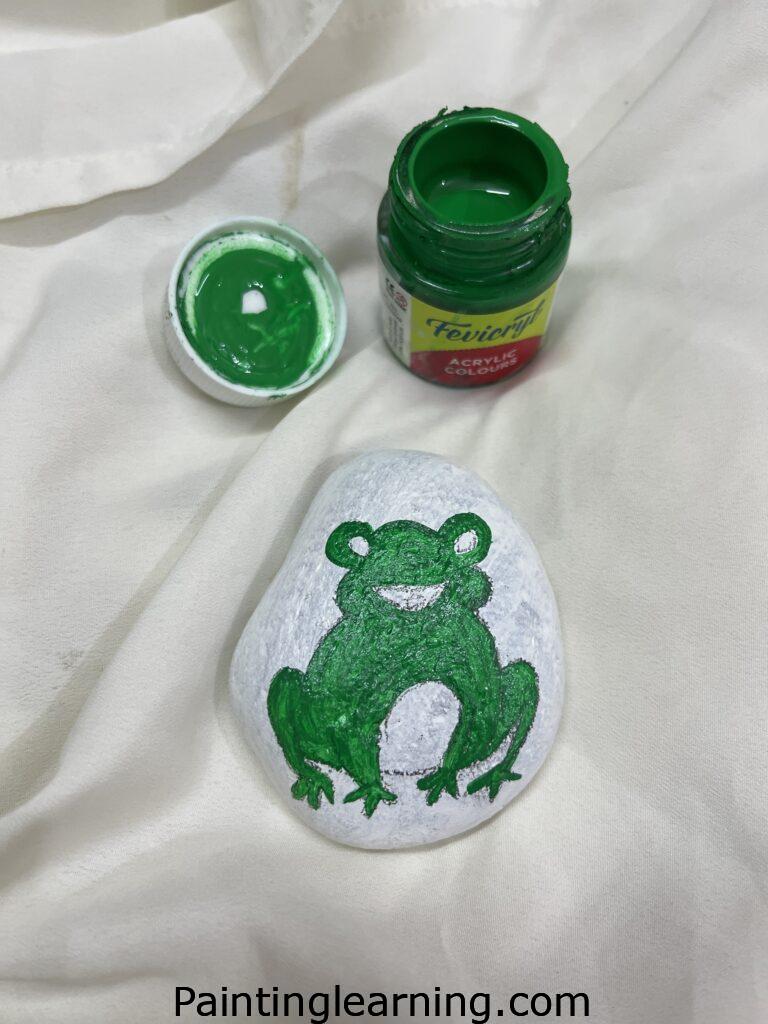
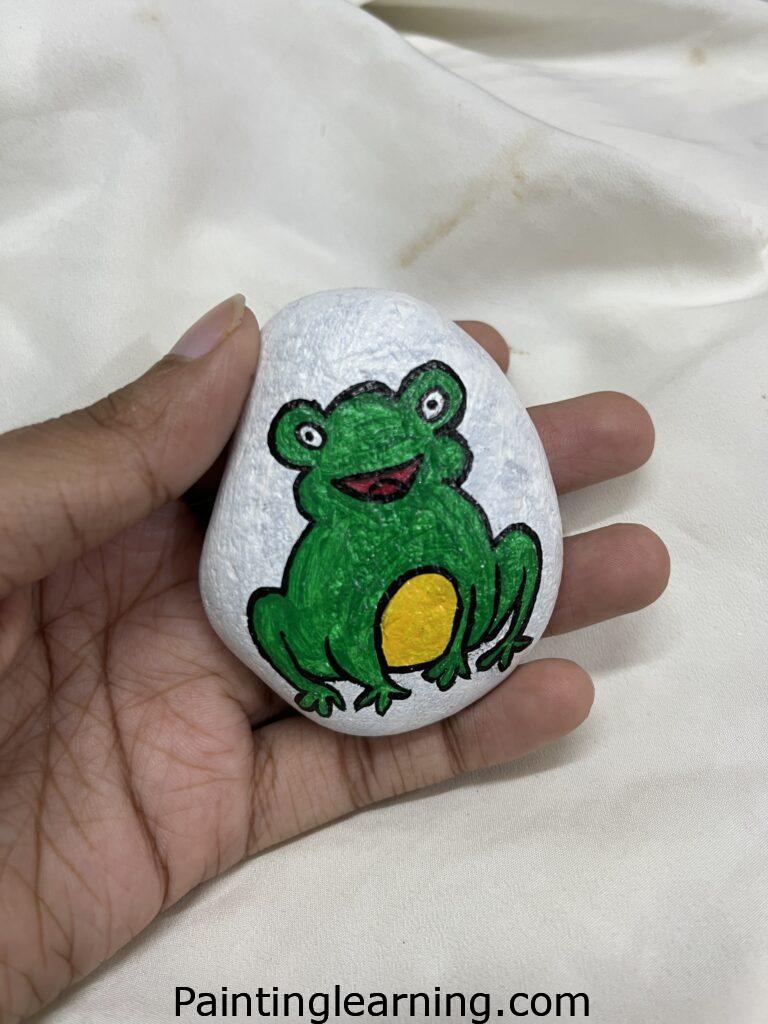
Step 1: Base Color
Paint the entire rock white. Let it dry fully. Then sketch your frog lightly with a pencil.
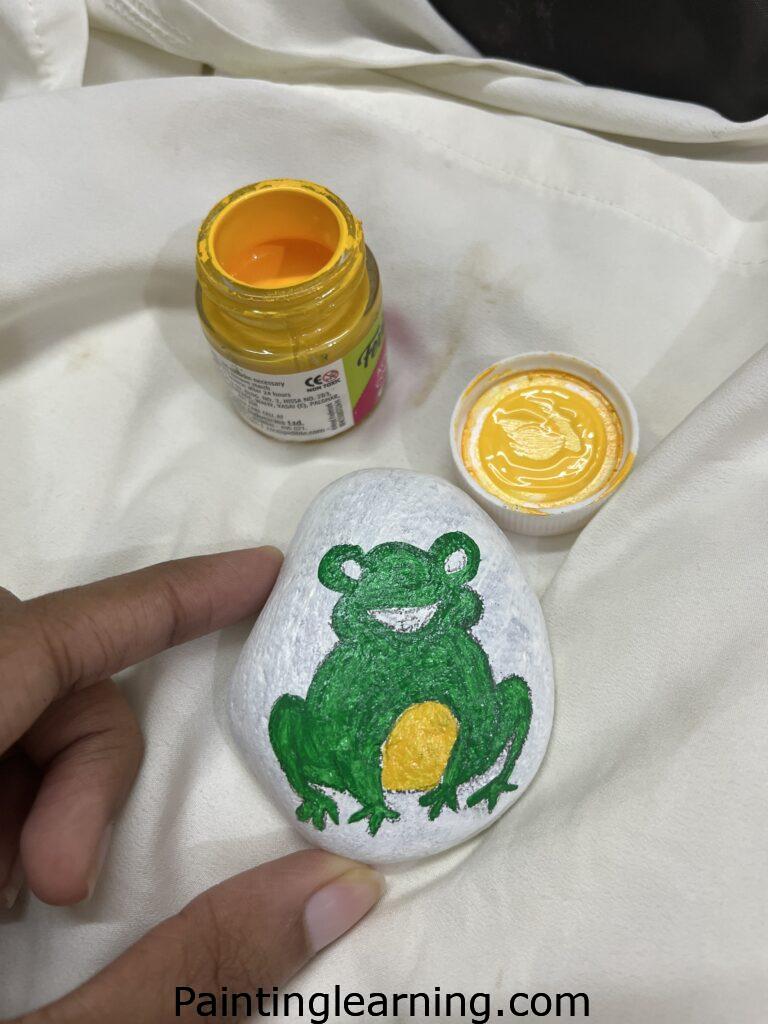
Step 2: Apply Colors
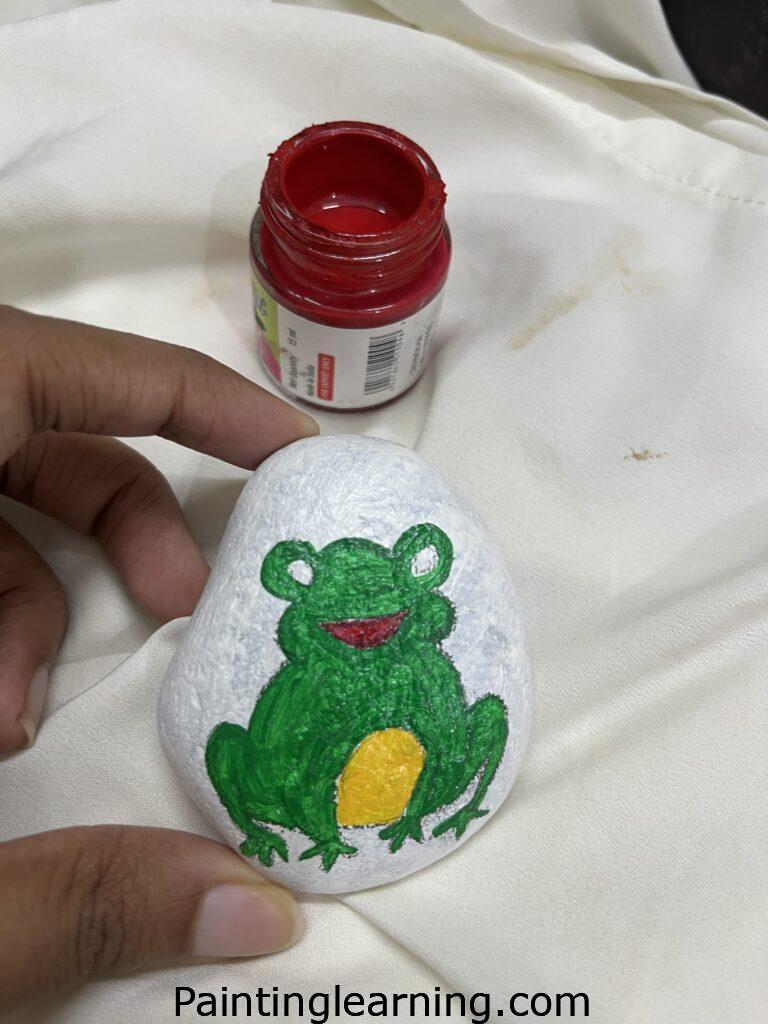
Fill in the frog with green paint. Once dry, add yellow highlights. Next, paint the face area red and let it dry completely.
Step 3: Add Details
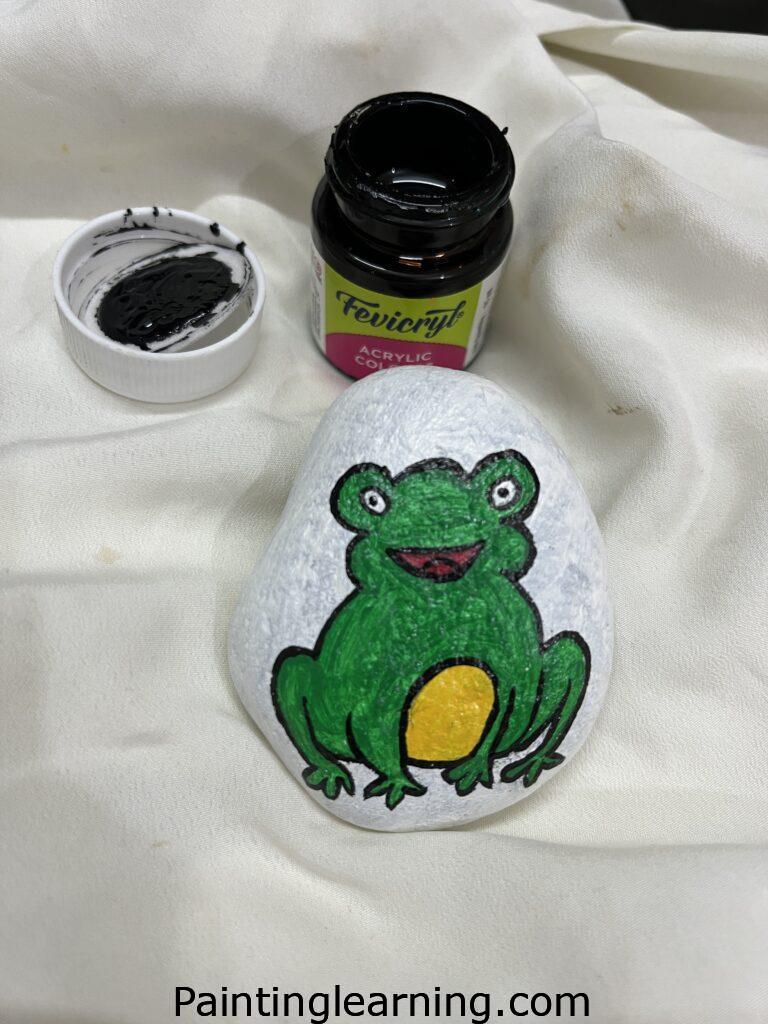
Use black paint with a detail brush to outline and define features. This step makes your frog come alive.
Step 4: Seal It
After everything dries, coat with varnish. This keeps the colors vibrant and prevents chipping.
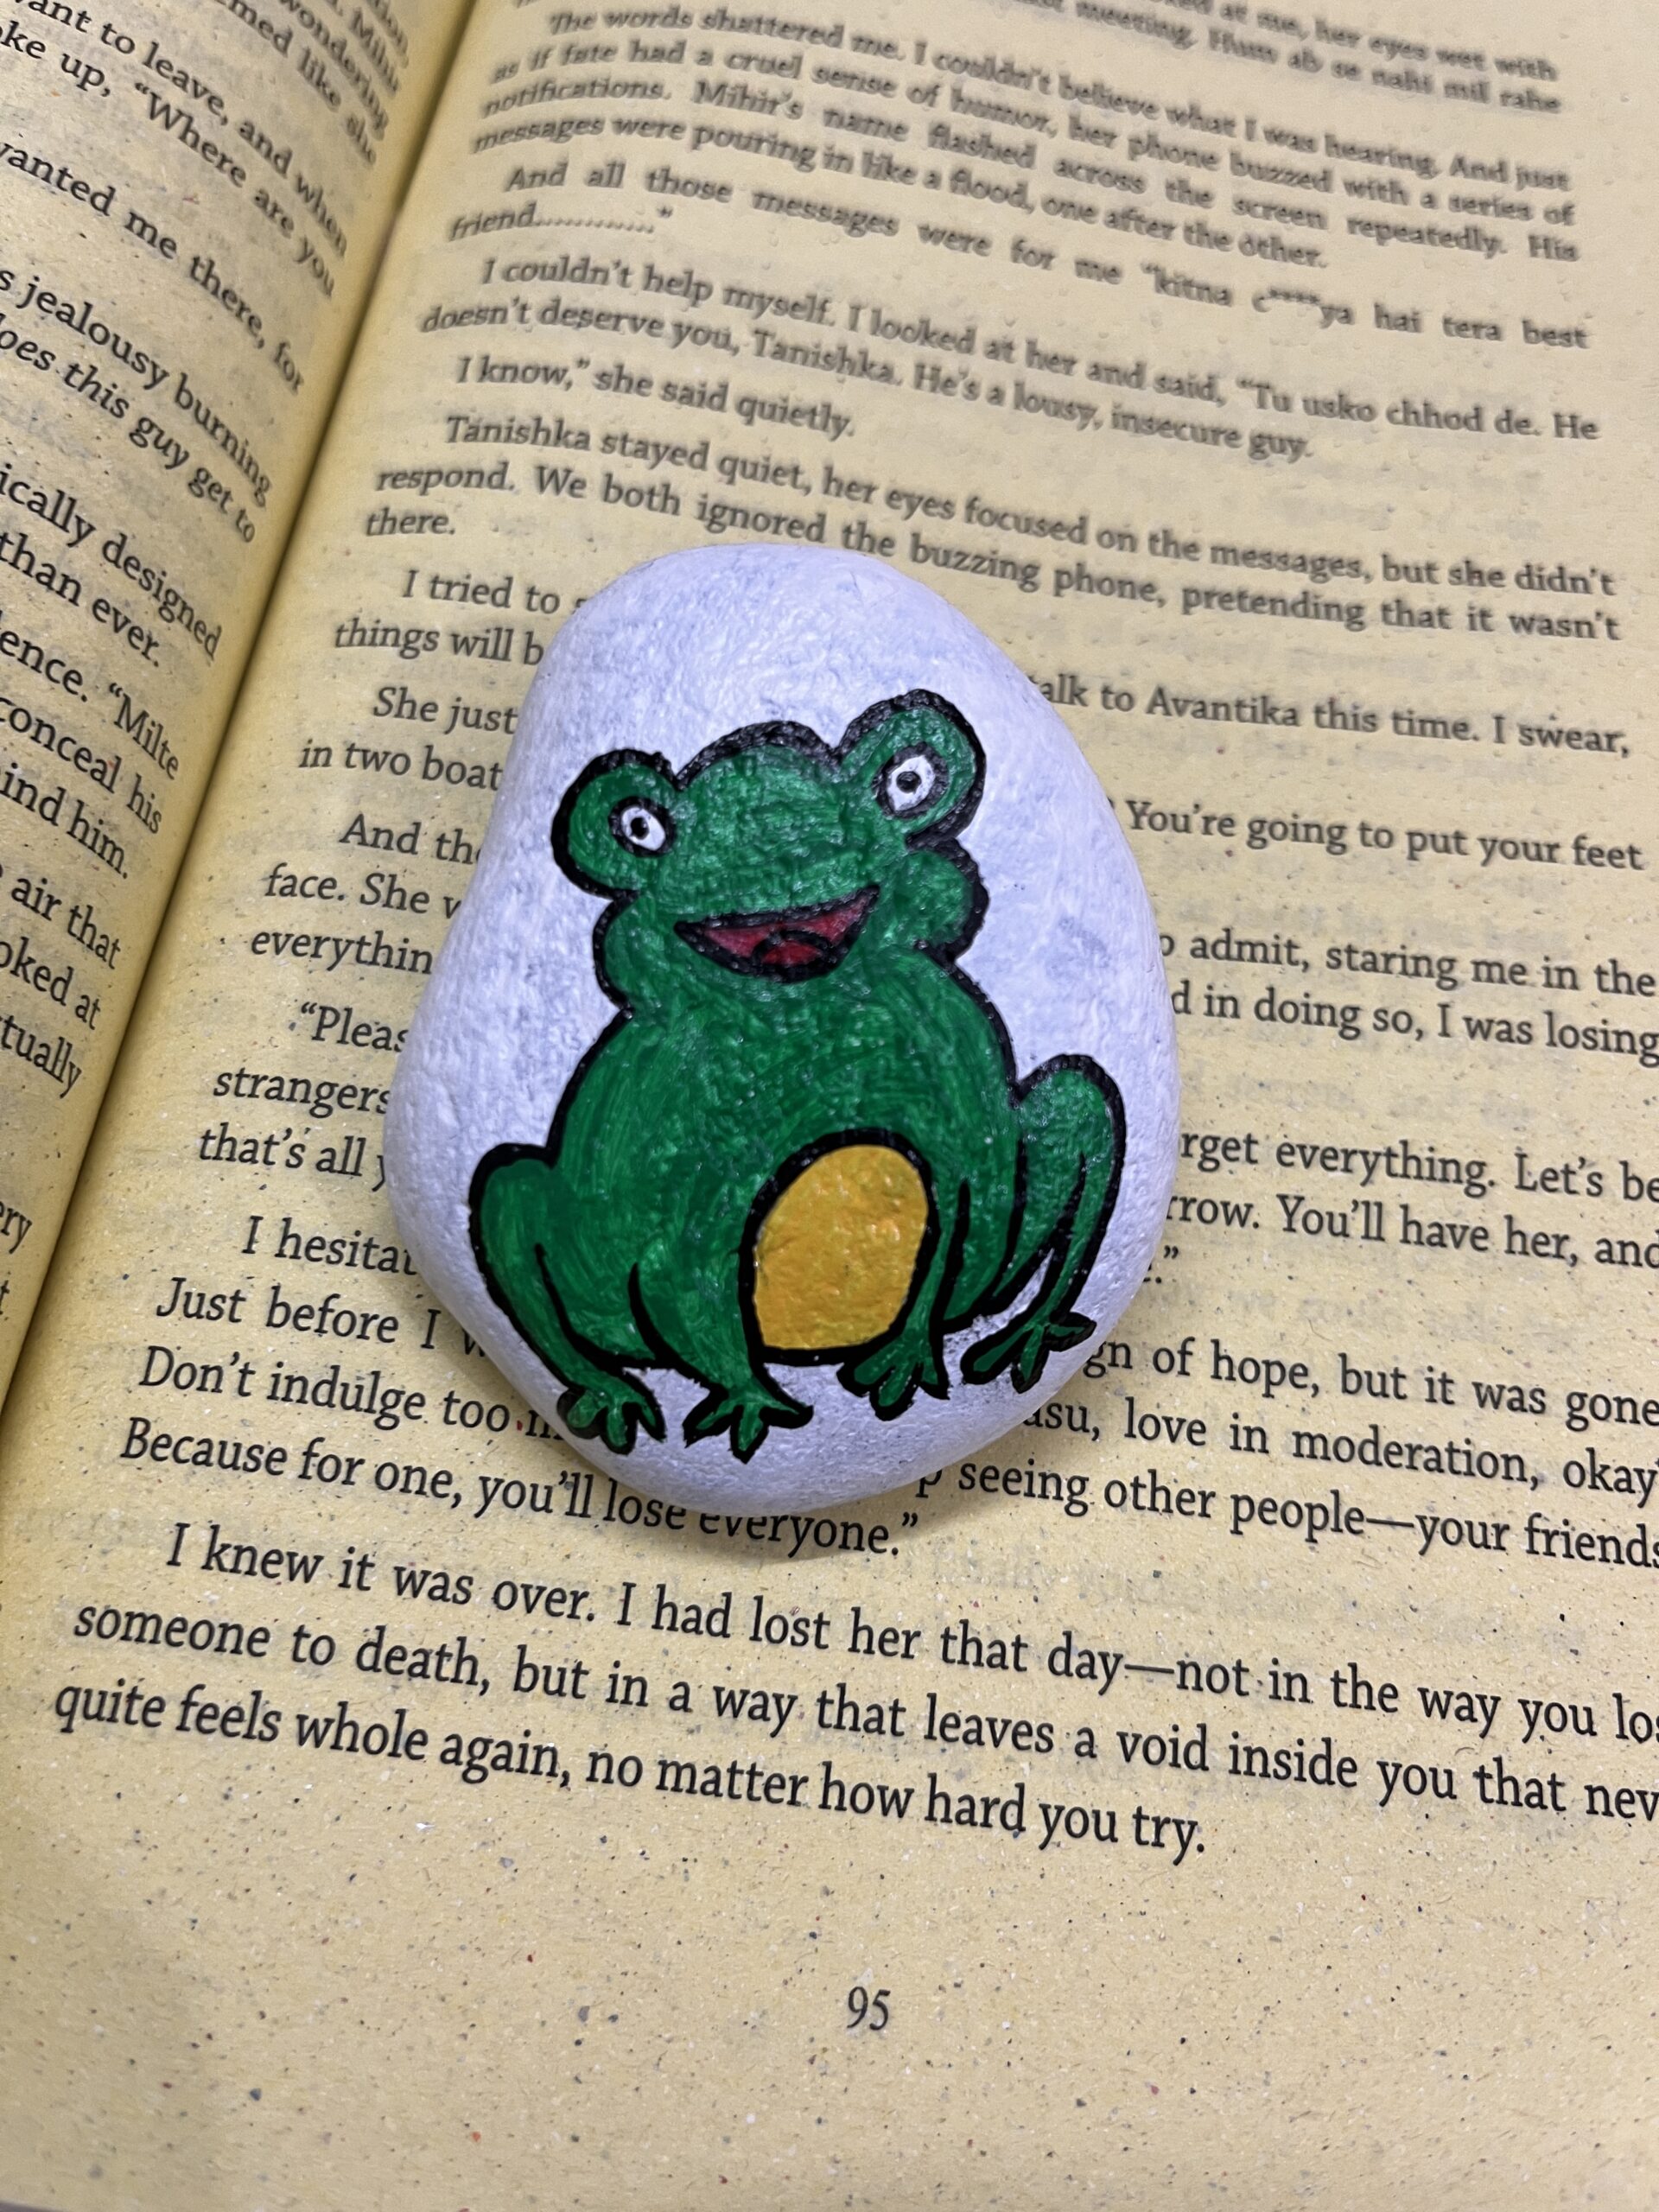
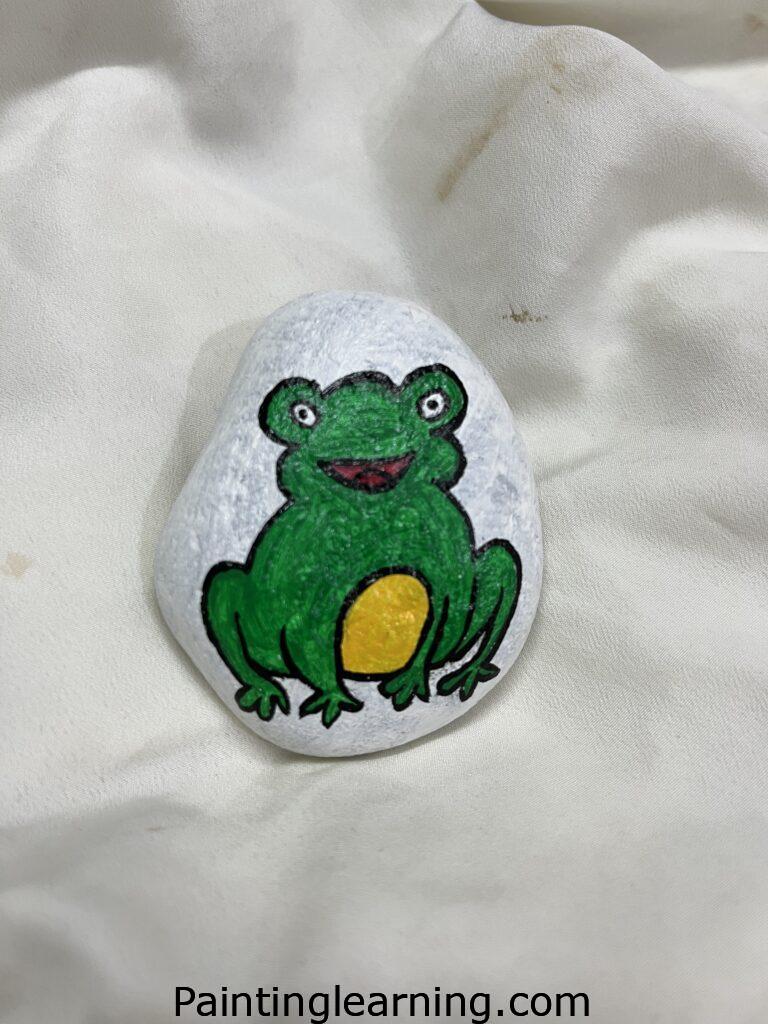
And just like that, your frog rocks are ready.
Tips for Success
Painting rocks can be tricky at first, but a few tips can make things easier:
- Always let one color dry before adding another.
- Use thin layers of paint instead of one thick coat.
- Keep a cup of water nearby to rinse brushes.
- If you make a mistake, don’t panic—just let it dry and paint over it.
Common Mistakes and How to Avoid Them
Even simple projects have pitfalls. Here’s what to watch out for:
- Skipping the Base Coat: Without white paint underneath, colors won’t pop.
- Rushing the Drying Process: Wet paint smudges easily. Be patient.
- Using the Wrong Brush: Thick brushes make it hard to paint small details.
- No Varnish: Without a sealer, the design fades or chips quickly.
Similar Variations You Can Try
Once you master how to paint a frog on a rock, try experimenting:
- Cartoon Frogs: Use exaggerated eyes and bright colors.
- Realistic Frogs: Add shading and natural tones for lifelike detail.
- Seasonal Frogs: Give your frog a Santa hat, pumpkin background, or spring flowers.
- Family Sets: Paint multiple rocks as frog families—big and small.
FAQs
Q: Can I use other paints instead of acrylics?
A: Acrylics work best because they dry quickly and stick to stone. Other paints may chip easily.
Q: Do I need special rocks?
A: No, but smooth, flat ones are easiest to paint on. You can find them outside or buy them at craft stores.
Q: How long does it take to finish one frog rock?
A: Around 1–2 hours, including drying time.
Q: Can kids do this project?
A: Absolutely. Just supervise when using varnish.
Final Thoughts
Painting frog rocks is more than just a craft—it’s a fun way to slow down, focus, and create something cheerful. With these easy frog painted rocks, you can brighten up any garden, desk, or shelf.
So, grab your brushes, paints, and a handful of stones. Follow these frog painted rock instructions, and you’ll discover how relaxing and rewarding this simple project can be. In no time, you’ll master how to paint a frog on a rock and maybe even inspire others to try it too.