Easy Dog Rocks Painting Tutorial (Simple Dog Rocks Step by Step)
Ever looked at a plain rock and thought… “Could this become a dog?”
I used to wonder that too until I painted my first pup rock.
And you know what? It wasn’t just fun — it felt magical.
Dog rock painting offers a rewarding blend of simplicity and creativity.
With just a few materials and some clear steps, you can turn any smooth stone into a charming canine.
Today, I’ll walk you through the exact dog rock painting instructions I follow.
This isn’t just any rock project.
It’s a chance to create something adorable, personal, and uniquely yours.
Let’s dive into how to paint a dog on a rock — the easy way.

What Are Dog Rocks?
Dog rocks are painted stones designed to resemble dogs. Think of them as your canvas—small, rugged, and totally paintable. From fluffy poodles to spotty mutts, you can bring any pup to life.
This art form blends painting and imagination. And while the final piece looks fancy, the process is surprisingly simple. You don’t need to be a pro. You just need a few tools, a little patience, and a love for dogs (and rocks, of course).
I started painting easy dog rocks one rainy afternoon. No plan. Just a brush, a few colors, and a stone from my garden. That moment? Pure joy. Now I can’t stop.
Definition List: Key Terms
Dog Rocks
Painted rocks made to look like cartoonish or realistic dogs.
Base Color
The first layer of paint that covers the whole rock.
Blending
Softly mixing two or more paint shades together.
Detail Brush
A thin, precise brush used for outlining or tiny features.
Varnish
A clear sealant that protects the finished painting.
Materials Needed
To start your simple dog rocks step by step journey, here’s what you’ll need:
| Item | Use | Notes |
|---|---|---|
| Rocks | Base surface | Smooth, palm-sized, and clean |
| Acrylic Paint | Color for design | Stick with white, brown, and black |
| Flat Brush | Base coat and larger color areas | Medium size is ideal |
| Detail Brush | For fine lines and small features | Precision matters |
| Varnish | Seals the artwork | Matte or glossy finish – your choice |
Step-by-Step Dog Rock Painting Instructions
Now, let’s walk through each step together. Don’t rush it. Enjoy every stroke.
Step 1: Apply the Base Color
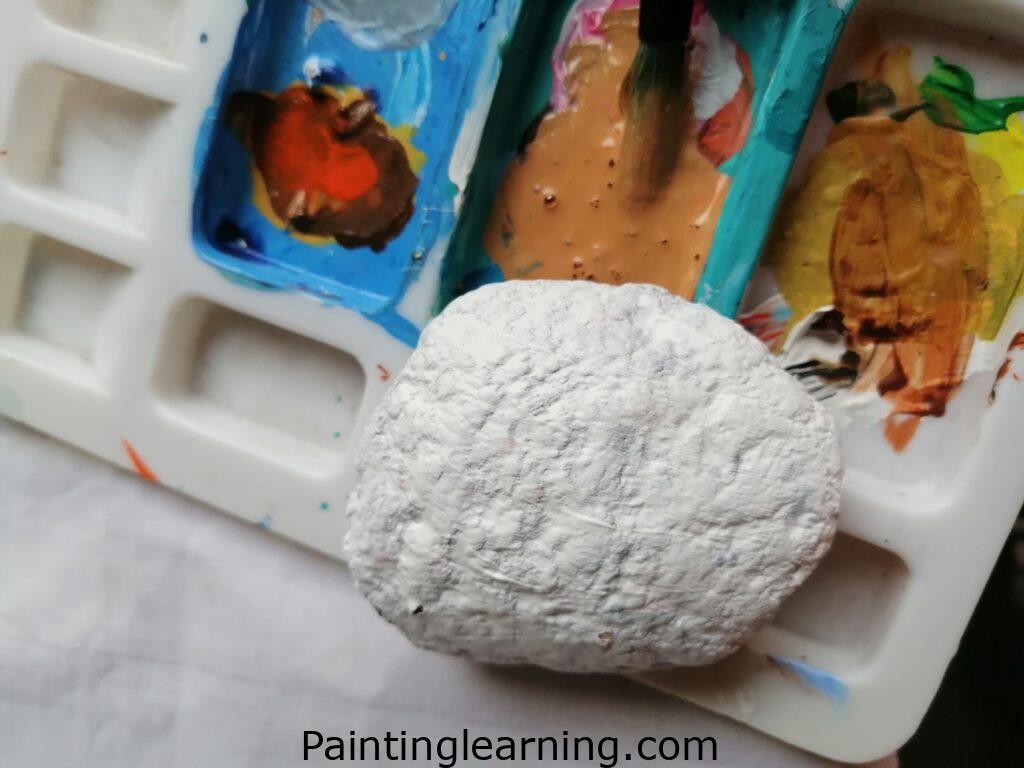
- Start by painting the entire rock with white acrylic paint.
- Let it dry completely before adding any design.
- This step helps the next colors pop more vibrantly.
Step 2: Blend the Brown Color

- Using a flat brush, apply brown acrylic paint over parts of the rock to shape the dog’s fur or body.
- Blend the brown gently to mimic fur texture or shading.
- Let it dry fully before moving to the next step.
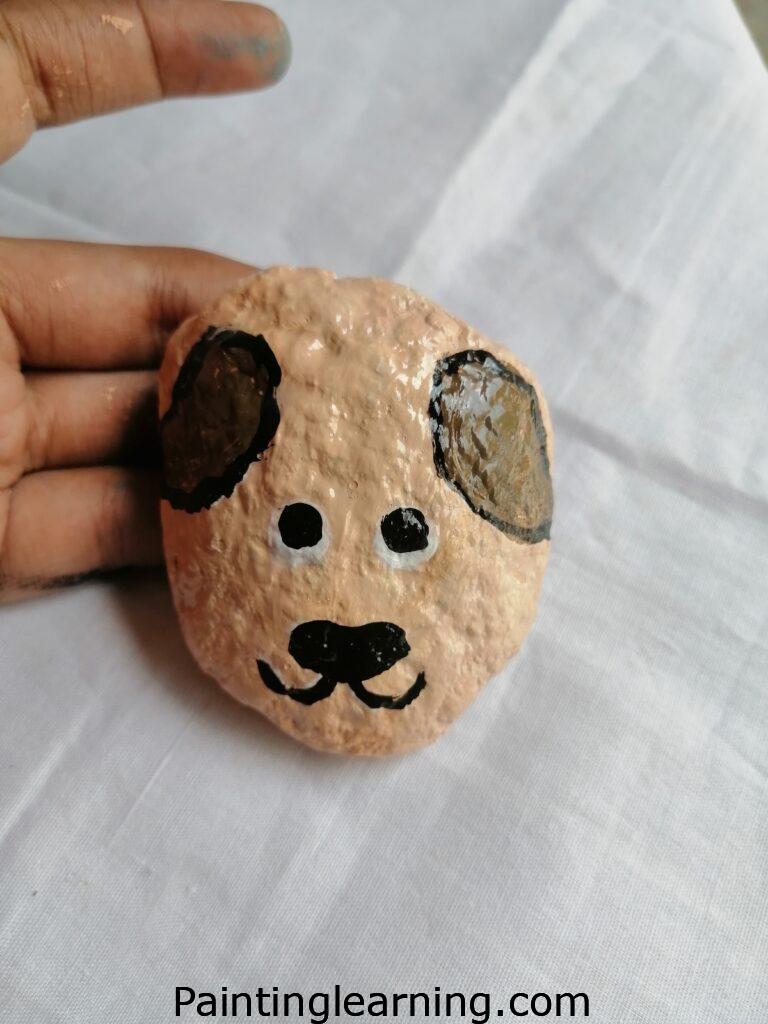
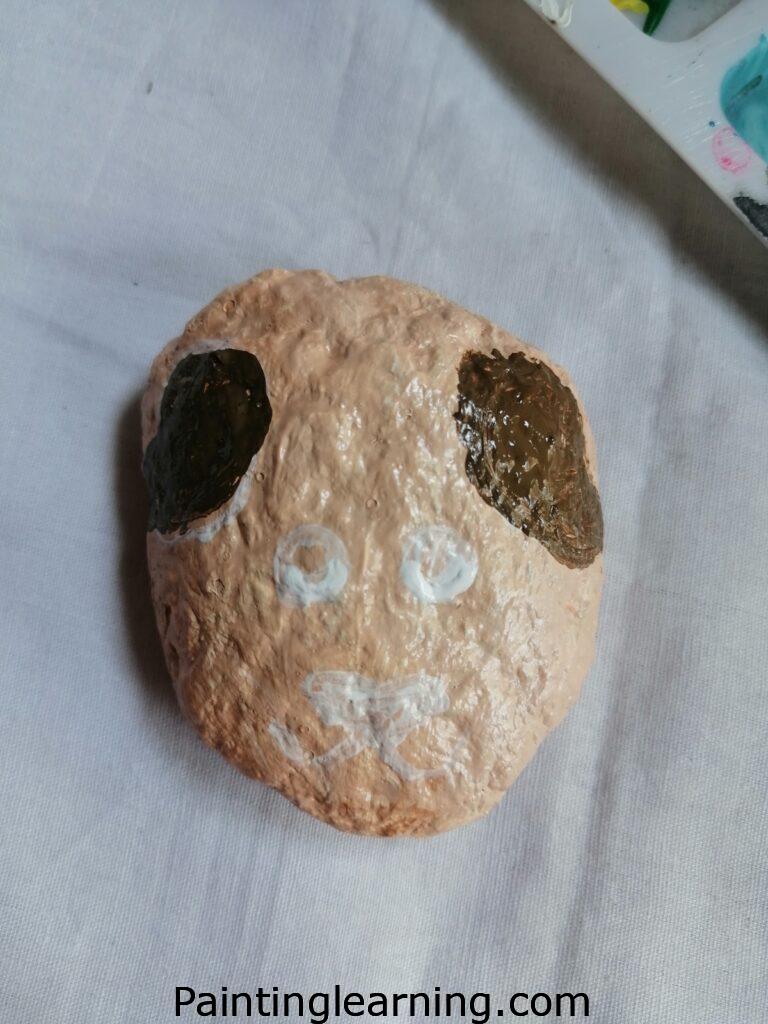
Step 3: Add Details with Black Liner
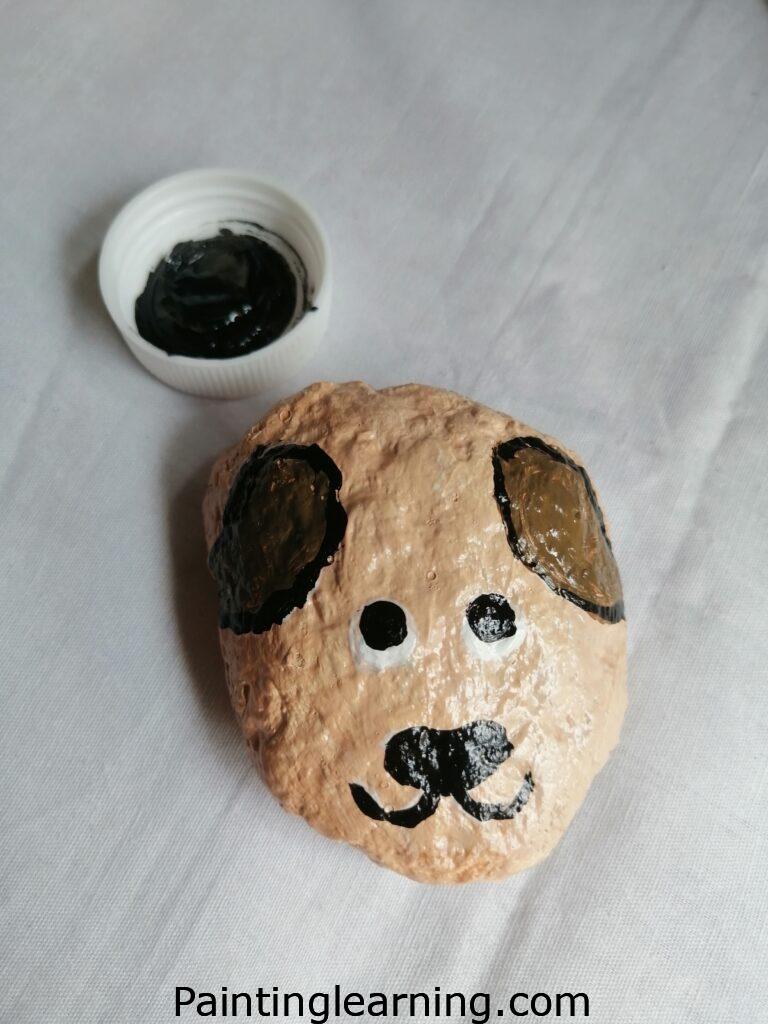
- Use your detail brush and black paint to outline the ears, eyes, and facial features.
- Keep your hand steady and work slowly.
- Once dry, apply varnish as a sealant to protect your design.
Step 4: Done and Ready!

- Your dog rock is now complete.
- Let it dry one last time after varnishing.
- Now show it off on a shelf, gift it, or start another one!
Tips for Success
Here are a few lessons I’ve learned the hard way:
- Always clean the rock first – Dirt or oil will mess with paint adhesion.
- Let each layer dry – Rushing leads to smudging and frustration.
- Use a photo for reference – Helps you plan your design better.
- Test blending on paper first – Just to get your hand warmed up.
- Seal properly – A good varnish makes your piece last longer.
Common Mistakes and How to Avoid Them
Painting rocks seems easy, but here’s what to look out for:
- Using textured or uneven rocks
Avoid bumpy stones. Flat, smooth ones are easier to paint on. - Too much paint too fast
Thick layers take forever to dry. Work in light coats. - No plan for the face
Sketch lightly with a pencil first if you’re unsure. - Skipping the varnish
Your art deserves protection. Don’t forget this step.
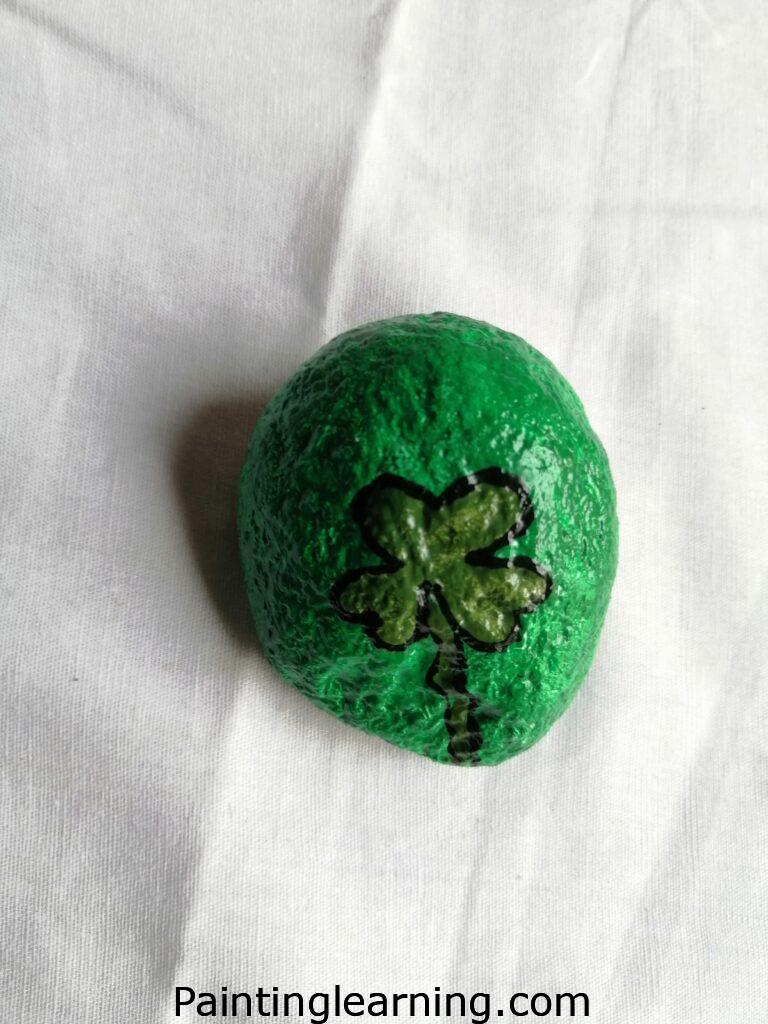
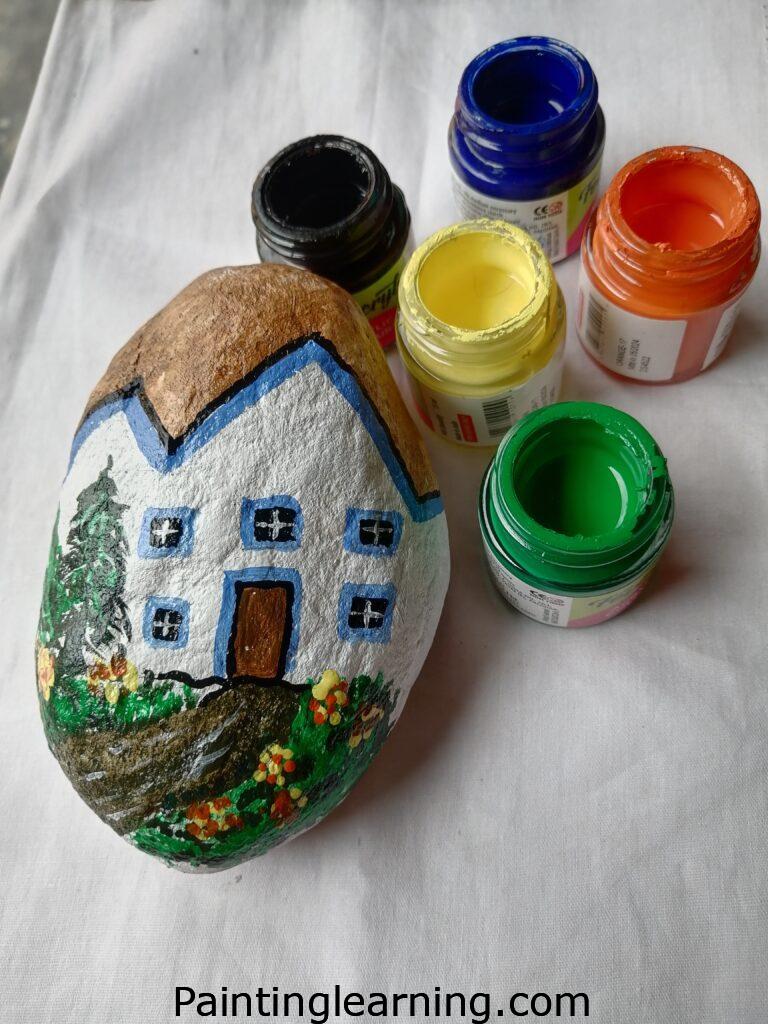
Similar Variations to Try
Once you’ve tried your first easy dog rock, why stop there?
Here are fun twists you can try next:
- Cartoon-style dogs — Use bold lines and big eyes.
- Realistic fur detail — Try dry brushing for texture.
- Add dog collars or names — Personalize it!
- Holiday-themed dogs — Santa pups, Halloween hounds, and more.
- Different breeds — From Chihuahuas to Labradors.
FAQs
Q: Can I use watercolor or poster paint instead of acrylic?
Nope. Acrylic paint sticks better to stone and lasts longer. Watercolors won’t hold.
Q: Do I need to varnish every time?
Yes. It seals and protects your design from scratches and moisture.
Q: How long does each layer take to dry?
Typically 20–30 minutes, but I give it an hour just to be safe.
Q: Can kids do this project?
Absolutely. Just supervise the varnishing step.
Q: Where can I find the best rocks?
Garden centers, parks (with permission), or riverbeds. Look for smooth and flat ones.
Final Thoughts
I hope this guide helped you learn how to paint a dog on a rock with confidence.
Rock painting is one of those peaceful, satisfying hobbies you can come back to again and again.
Whether you’re painting for fun, gifts, or your personal craft corner, easy dog rocks are the perfect place to start.
Let your creativity lead, and remember — the best part is simply enjoying the process.
Ready to try it out? I’d love to hear how your pup rocks turned out.
Got questions or your own twist on this? Let me know — I’m always open to sharing and learning together.