Easy Christmas Tree Painted Rocks: A Step-by-Step Guide
Ever wanted to create something festive without spending too much money? Painted rocks might be the answer. They’re small, simple, and surprisingly fun.
When I first tried it, I didn’t expect it to look so magical. But once I added the tree design, it felt like I had created a mini holiday decoration.
That’s the charm here. With just a rock, some paint, and a brush, you can turn something ordinary into a Christmas treasure.
What Are Christmas Tree Rocks?
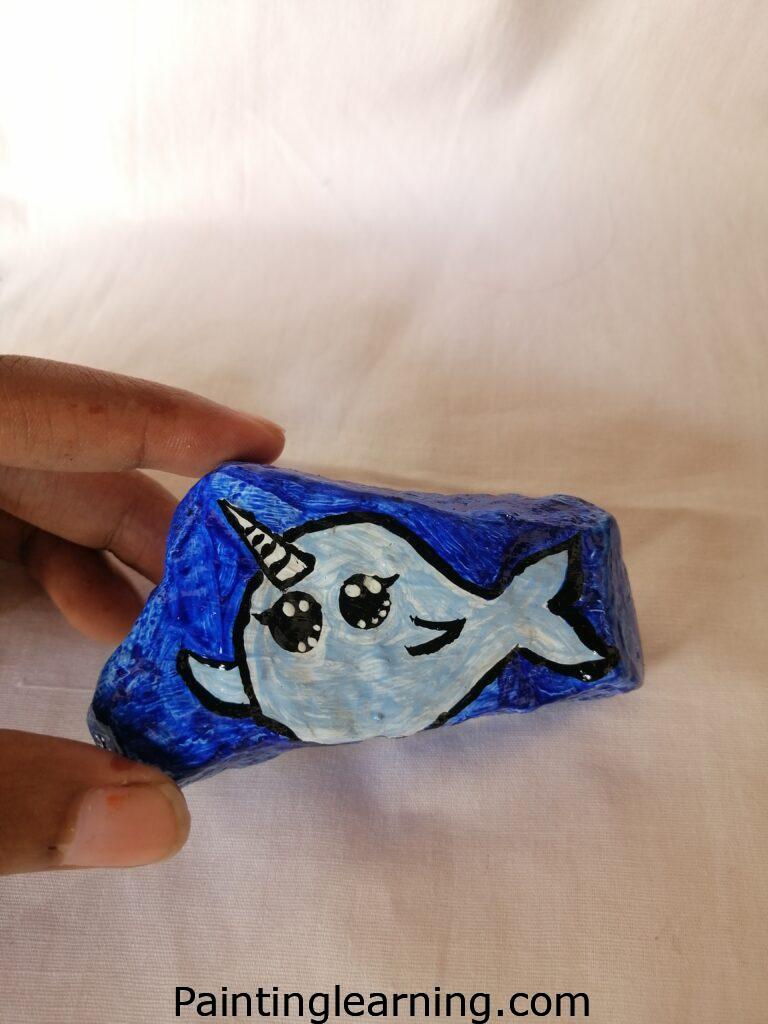
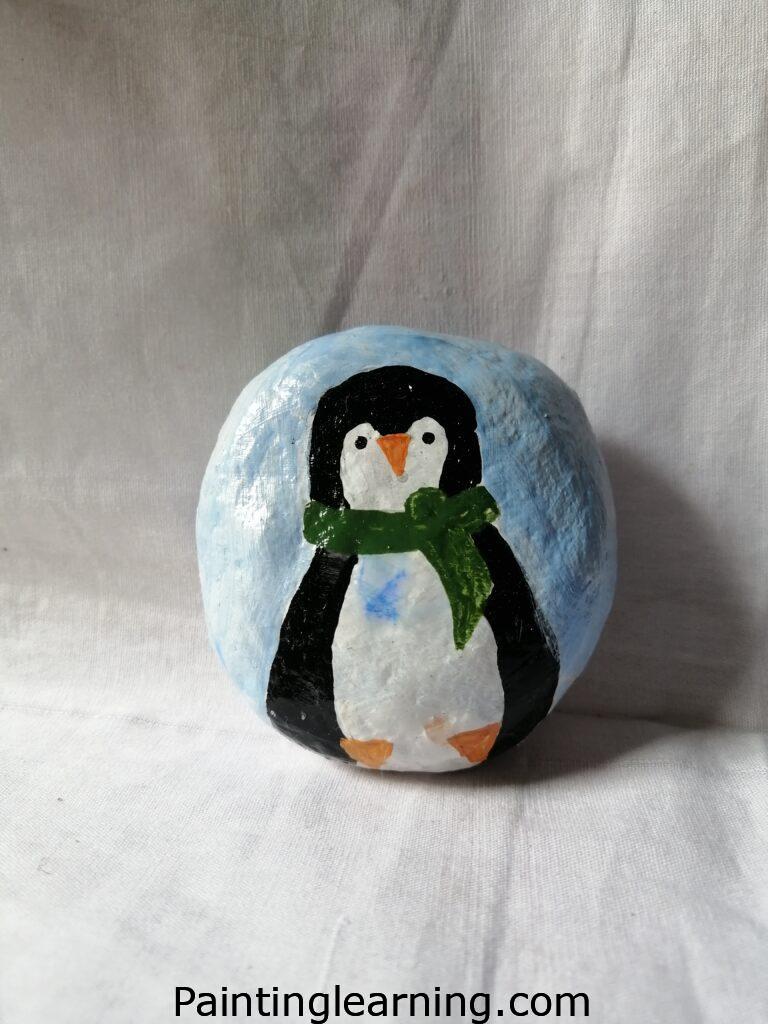
Christmas tree rocks are just what they sound like—ordinary stones transformed into holiday art. You take a smooth rock, paint it with festive colors, and decorate it to resemble a Christmas tree.
I love this project because it’s both beginner-friendly and rewarding. Even if you’ve never painted before, you’ll enjoy the process. And the best part? Each rock becomes a unique decoration or thoughtful handmade gift.
Key Terms Explained
To keep things clear, here are a few quick definitions:
- Base Coat: The first layer of paint that prepares the surface.
- Detail Brush: A fine-tipped paintbrush used for small lines or intricate designs.
- Varnish: A clear protective layer that seals your paint and adds shine.
- Acrylic Paint: Fast-drying, water-based paint perfect for rock surfaces.
Materials Needed
Here’s a clear breakdown of what you’ll need to get started:
| Material | Description | Purpose |
|---|---|---|
| Rocks | Smooth, flat stones (medium size works best) | The canvas for your artwork |
| Acrylic Paint | White, red, green, golden, black, and brown | Used to build the Christmas tree design |
| Brushes | Flat brush and detail brush | Flat for broad areas, detail for fine lines |
| Varnish | Clear coat (matte or glossy) | Protects and seals the finished rock |
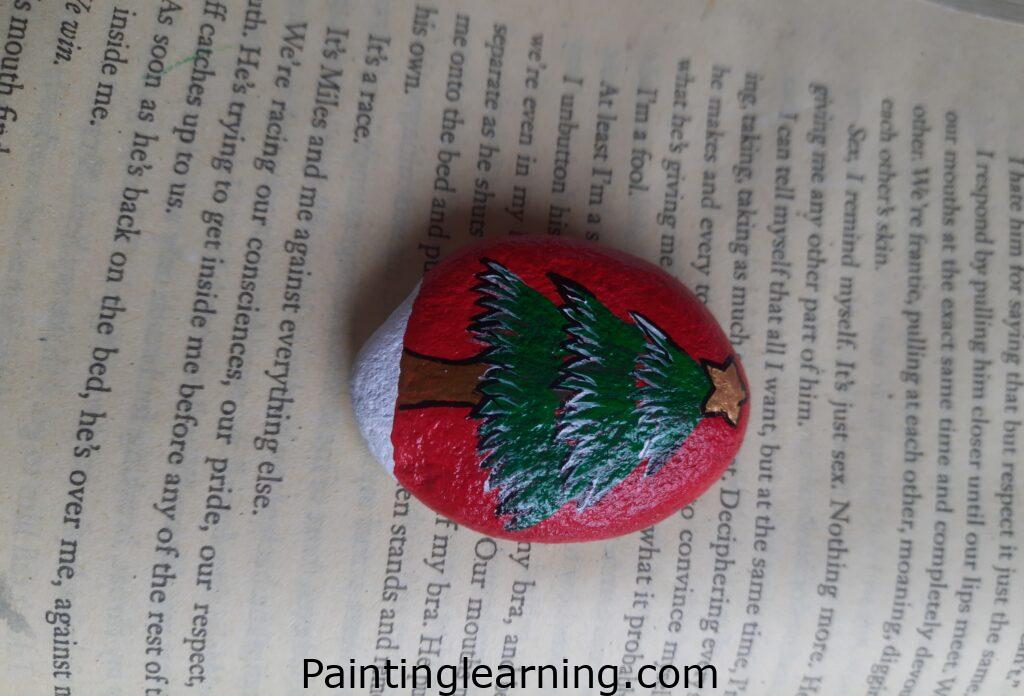
Simple Christmas Tree Painted Rocks Step by Step
Now let’s walk through it together. I’ll break it down so you can follow along easily:
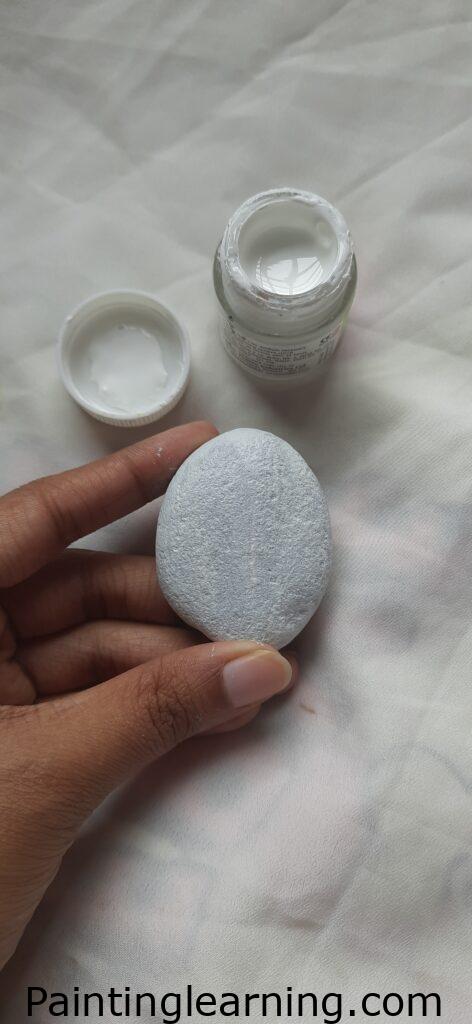
Base Color
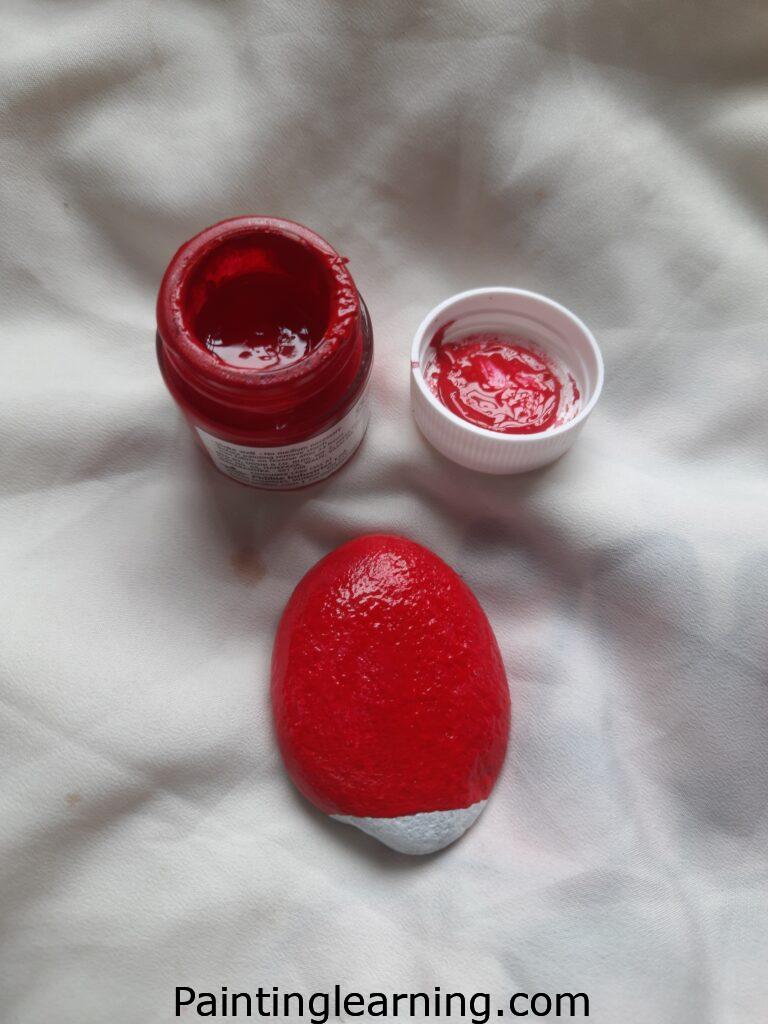
First, coat the rock with white paint. Let it dry completely.
Once dry, add a layer of red paint as shown in reference pictures.
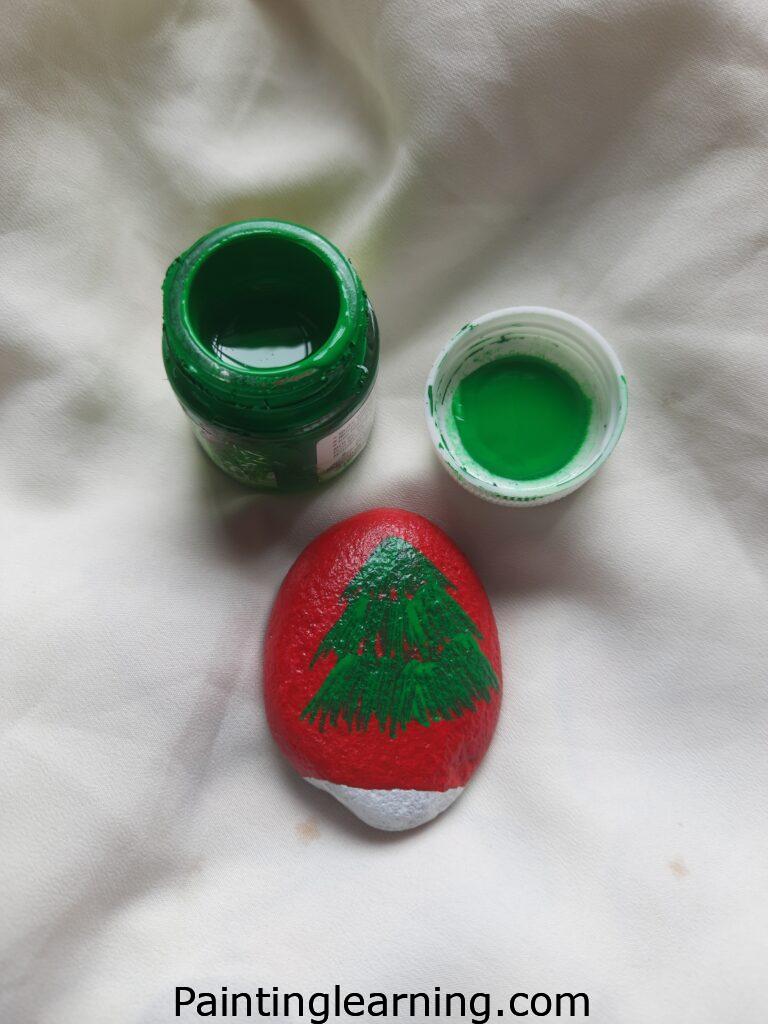
Painting the Tree
Use green paint to form the shape of a Christmas tree. Let it dry.
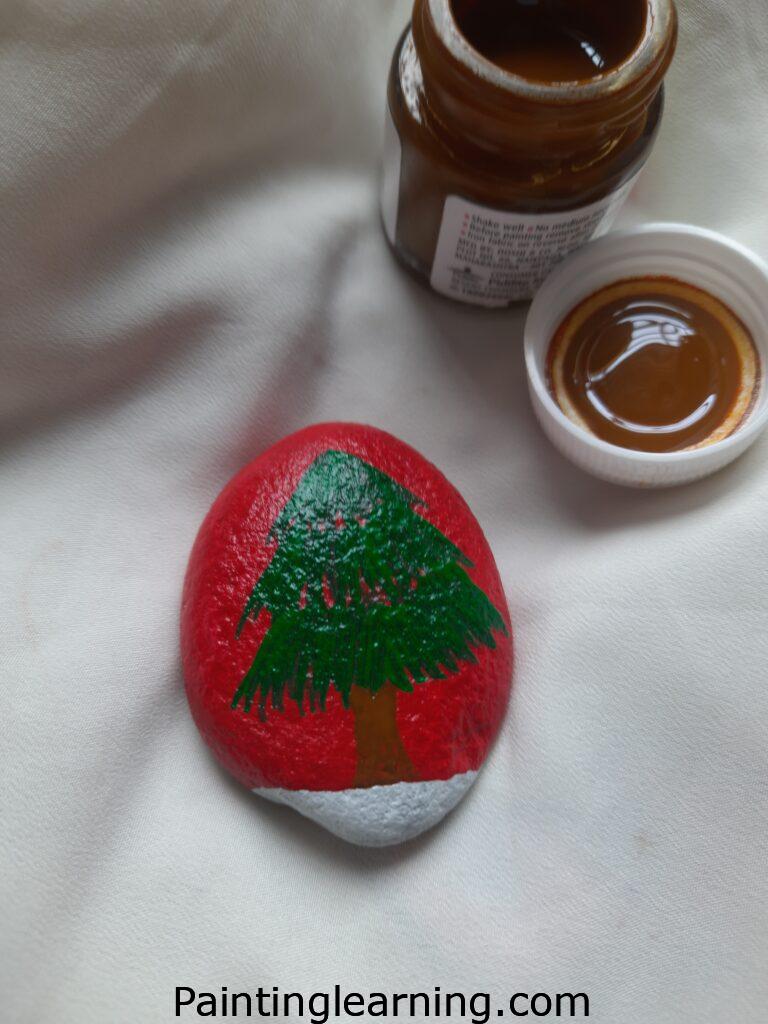
Add brown at the bottom for the tree trunk. Let it dry again.
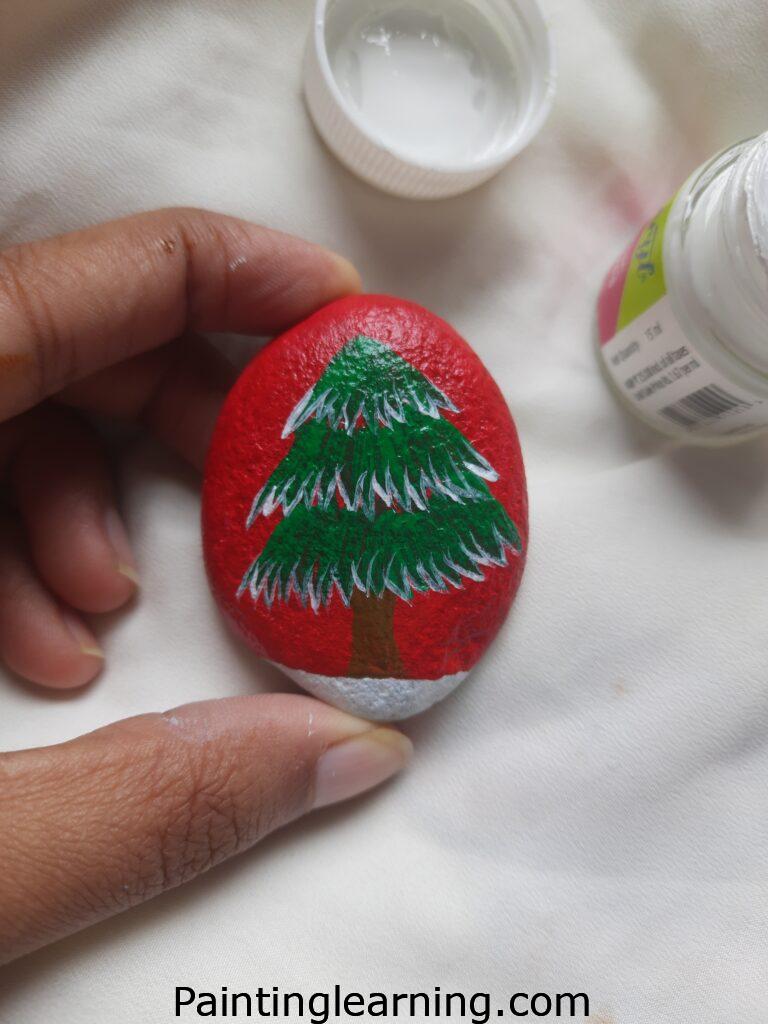
With a detail brush, draw a white line design over the tree.
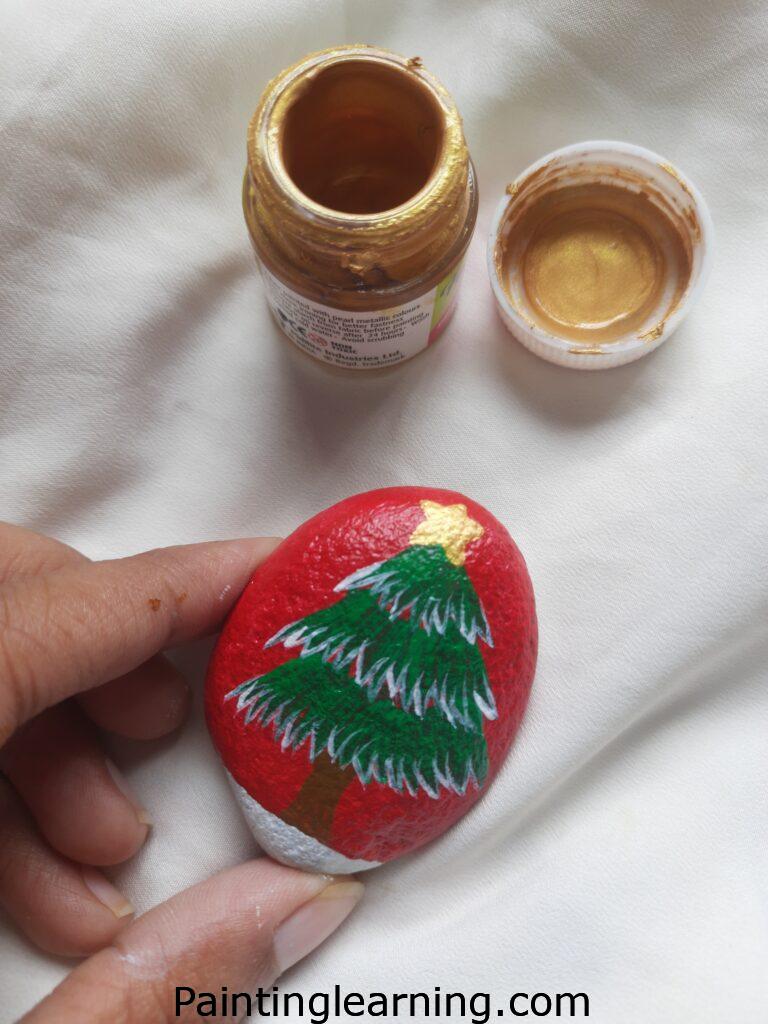
Paint a golden star at the top. Allow everything to dry well.
Final Details
Use black paint to outline the tree and details.
Apply a thin coat of varnish to seal and protect your design.
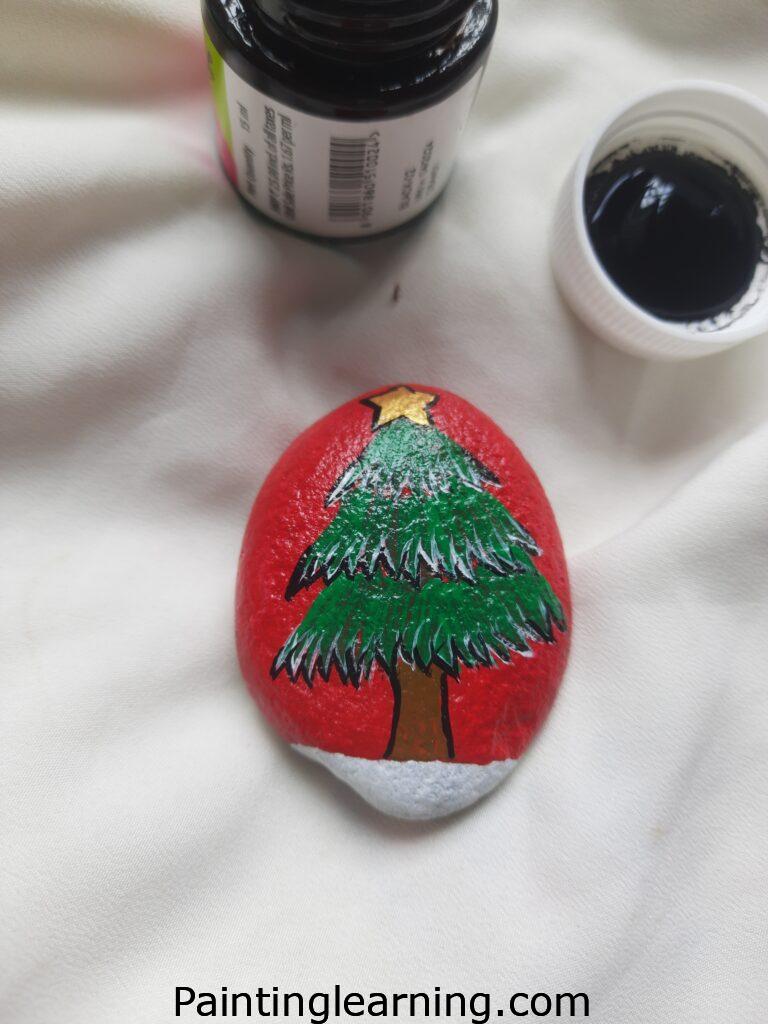
Your Christmas Tree Rock is Ready
Once dry, your rock is complete and ready to display.
Tips for Success
- Always let each paint layer dry fully before moving on.
- Use smooth rocks for easier painting. Rough textures can make lines messy.
- Keep a cup of water nearby to clean brushes between colors.
- Work in a well-lit space so you can see details clearly.
Common Mistakes and How to Avoid Them
- Rushing Layers: If you don’t let paint dry, colors can smudge. Take your time.
- Too Much Paint: A thick coat can crack. Apply thin layers instead.
- Skipping the Base Coat: Without white paint, colors may look dull on the rock.
- No Sealant: Forgetting varnish can cause paint to chip off quickly.
Similar Variations You Can Try
Once you’ve painted a few Christmas tree rocks, you might want to branch out. Here are some fun twists:
- Snowy Trees: Add white paint for snow-tipped branches.
- Ornament Designs: Use dots of red, blue, or yellow paint for ornaments.
- Glitter Accents: Mix glitter with varnish for a sparkling finish.
- Night Sky Background: Paint the rock dark blue with stars behind the tree.
FAQs
Q: What kind of rocks work best?
A: Smooth, flat stones give the cleanest results. River rocks are perfect.
Q: Do I need special brushes?
A: Not really. A flat brush for big areas and a detail brush for lines is enough.
Q: How long does one rock take?
A: About 30–40 minutes, depending on drying time between layers.
Q: Can kids do this craft?
A: Yes, but supervise them with varnish since it can be strong-smelling.
Wrapping Up
Learning how to paint a Christmas tree on a rock is a simple yet enchanting project. You don’t need advanced skills, just patience and a little creativity.
I’ve enjoyed every time I’ve made these, and I know you will too. So gather your paints, pick your rocks, and start creating. Easy Christmas tree painted rocks might just become your favorite holiday tradition.