Village Painted Rocks: Transform Simple Stones into Charming Miniature Worlds
Ever wondered how to turn ordinary rocks into enchanting miniature villages? These easy village painted rocks bring magic to any space with just a few simple strokes.
Creating charming village scenes on rocks opens up a world of creativity and relaxation. The process is surprisingly simple yet incredibly rewarding for artists of all skill levels.
I’ll guide you through every step of this delightful journey today. Your first village rock awaits!
What Are Village Painted Rocks?
Village painted rocks are ordinary stones transformed into miniature works of art that depict cozy houses, cottages, and buildings. I’ve been creating these charming pieces for years, and they never fail to bring smiles to people’s faces.
These painted stones capture the essence of quaint village life in a compact, portable form. The beauty lies in their simplicity – with just a few colors and basic techniques, you can create stunning miniature worlds that spark imagination and joy.
Key characteristics of village painted rocks:
- Small-scale architectural details
- Warm, inviting color schemes
- Simple yet effective design elements
- Perfect for both beginners and experienced artists
Materials Needed
Getting started with simple village painted rocks step by step requires just a few basic supplies. I’ve organized everything you’ll need in this comprehensive table:
| Material Category | Specific Items | Purpose | Quality Tips |
|---|---|---|---|
| Base Materials | Smooth rocks (various sizes) | Canvas for painting | Choose flat, well-shaped stones |
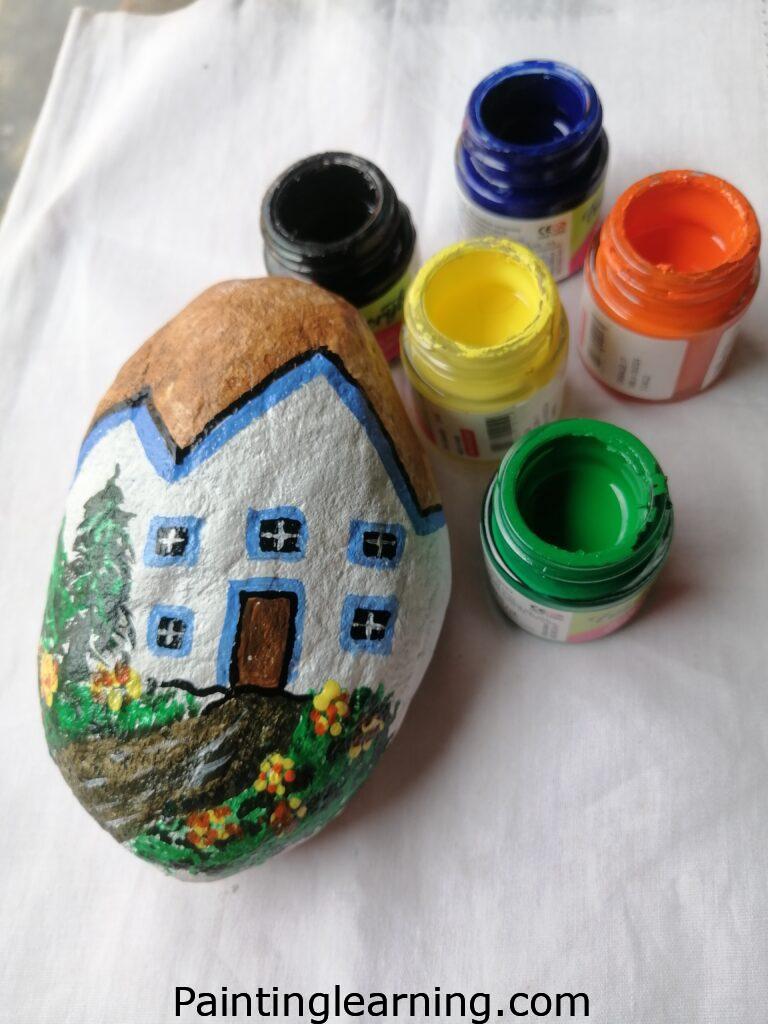
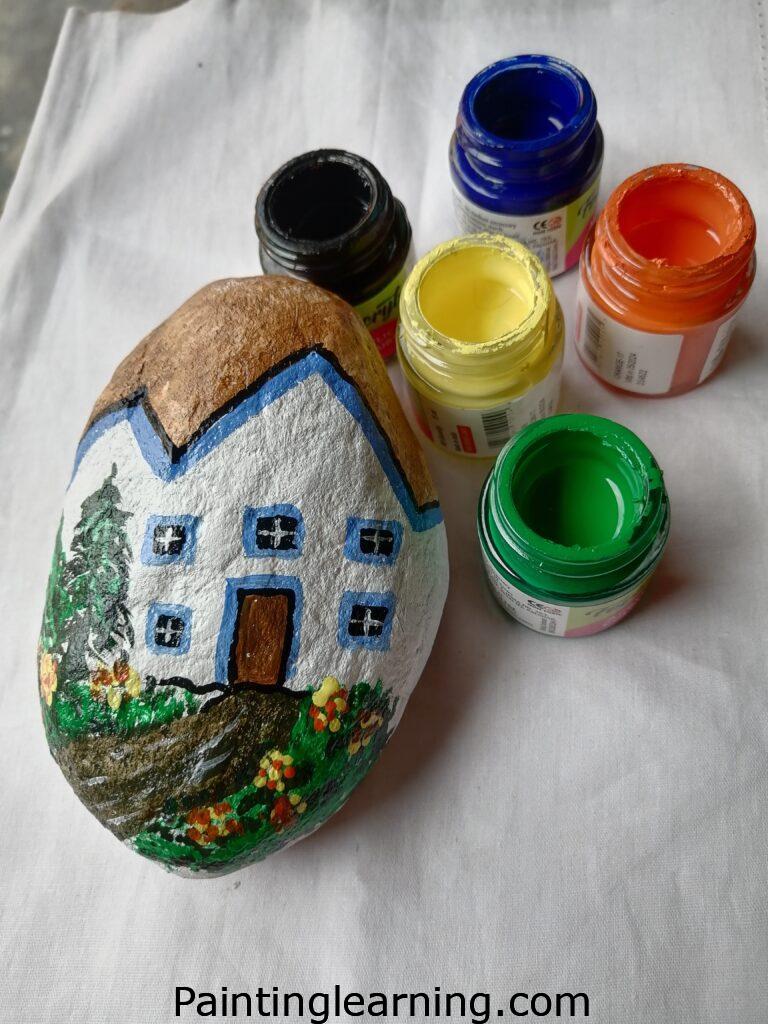
| Paint – Primary | White acrylic paint | Base coat foundation | Use high-quality acrylic for durability |
| Paint – Colors | Brown acrylic paint | Main building color | Earth tones work best for villages |
| Paint – Details | Black acrylic paint | Outlines and fine details | Essential for definition |
| Paint – Accents | Multicolor acrylics | Doors, windows, decorations | Small amounts go a long way |
| Brushes | Flat brush (medium size) | Base coats and large areas | 1/2 inch works perfectly |
| Brushes | Detail brush (fine tip) | Lines, windows, small details | Size 0 or 00 recommended |
| Finishing | Clear varnish/sealer | Protection and shine | Matte or gloss – your choice |
| Workspace | Palette or paper plate | Mixing colors | Disposable options work great |
| Cleanup | Water container | Brush cleaning | Change water frequently |
Step-by-Step Village Rock Instructions
Now let’s dive into the actual village painted rock instructions that will transform your plain stones into charming miniature homes.
Step 1: Prepare Your Base
Apply the white base coat first. This step is crucial for making your colors pop and ensuring even coverage. I always start here because it creates the perfect foundation.
- Clean your rock thoroughly
- Apply white paint evenly across the entire surface
- Use your flat brush for smooth coverage
- Let it dry completely – this usually takes 30-45 minutes

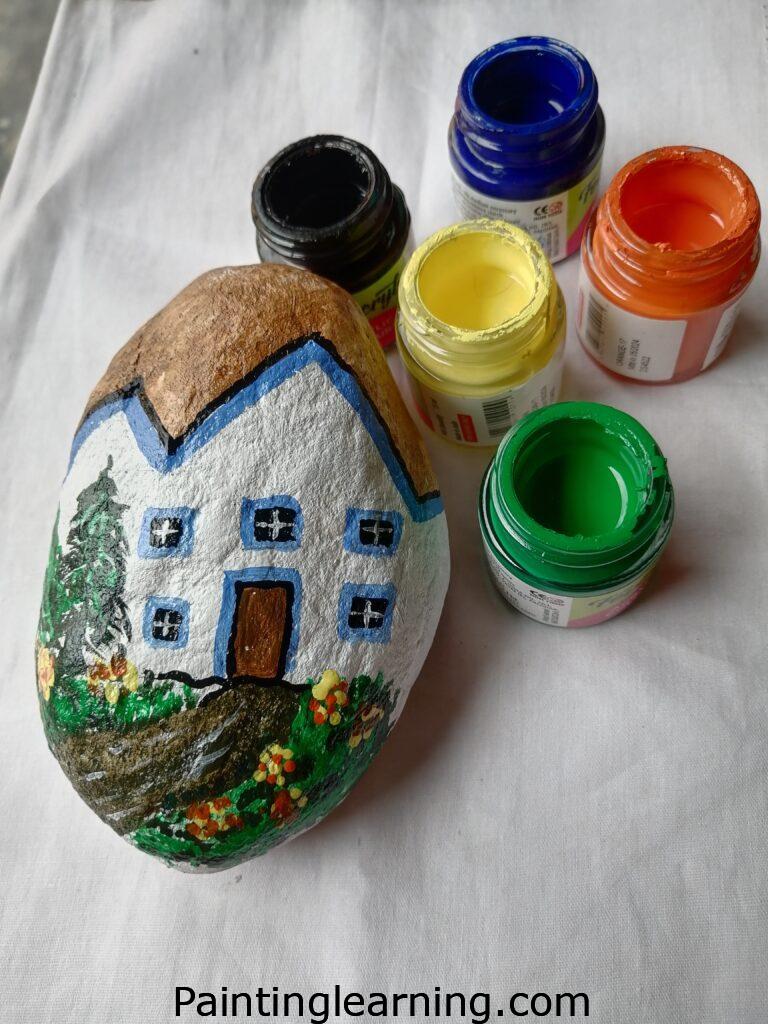
Step 2: Create the Village Structure
Paint the main building shape with brown color. This is where your village starts to come alive. The brown gives that cozy, rustic feel that makes village rocks so appealing.
- Use your flat brush to block in the basic house shape
- Focus on creating simple geometric forms
- Don’t worry about perfection – rustic charm is the goal
- Allow to dry thoroughly before moving to the next step
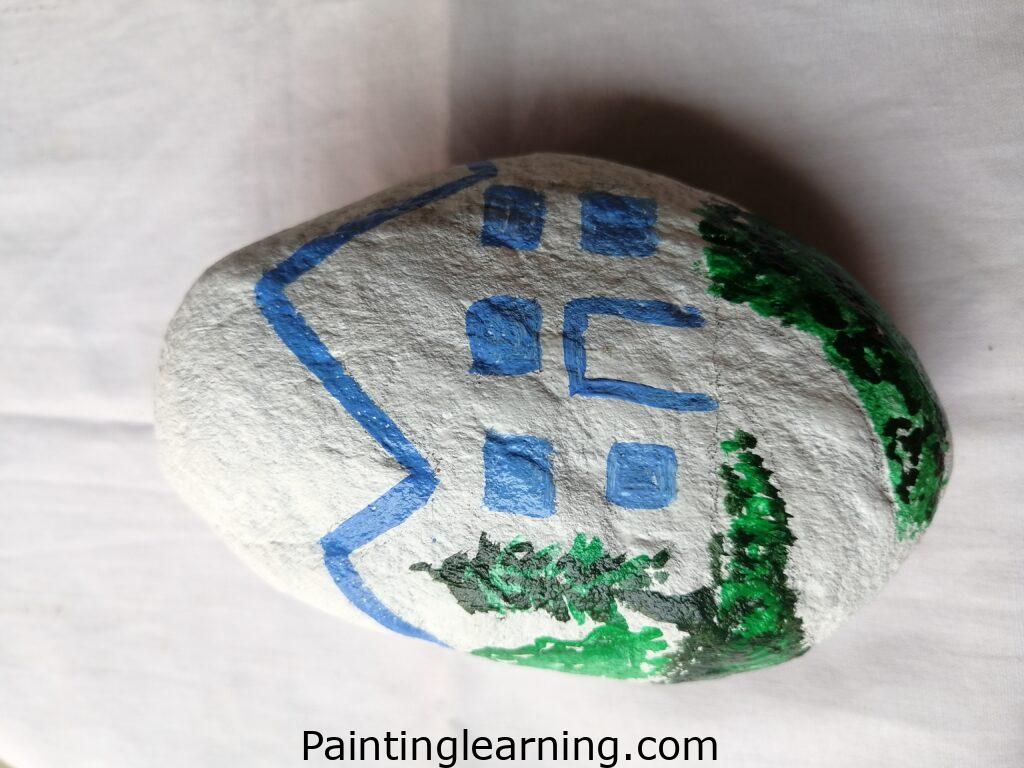
Step 3: Add Definition and Details
Draw black outlines using your detail brush. This step transforms your painted shapes into recognizable buildings with character and dimension.
- Use steady, confident strokes for roof lines
- Add windows and doors with simple rectangles
- Create texture with short, parallel lines
- Let dry completely before sealing
Step 4: Final Protection
Apply varnish sealer for lasting beauty. This protective coat ensures your village rocks will withstand handling and weather.
- Use thin, even coats
- Work in good lighting to avoid missed spots
- Allow full curing time as specified on your varnish
Your village rocks are now ready to delight and inspire!
Tips for Success
Creating beautiful village painted rocks becomes easier with these proven strategies I’ve developed over years of practice:
Paint Consistency Matters
- Keep your acrylics slightly thick for better coverage
- Thin paint leads to streaky, uneven results
- Add tiny amounts of water if paint seems too thick
Brush Care Is Essential
- Clean brushes immediately after use
- Never let paint dry on your brushes
- Use soap and warm water for thorough cleaning
Lighting Makes a Difference
- Work in bright, natural light when possible
- Good lighting helps you see true colors
- Avoid harsh shadows that can mislead your color choices
Patience Pays Off
- Rush the drying process and you’ll regret it
- Each layer needs adequate time to set
- Plan your painting sessions with drying time in mind
Common Mistakes and How to Avoid Them
I’ve made plenty of mistakes over the years, and I want to help you avoid the same pitfalls:
Skipping the Base Coat The Problem: Colors appear dull and require multiple coats The Solution: Always apply that white base – it’s your best friend
Using Too Much Water The Problem: Paint becomes translucent and streaky The Solution: Use paint straight from the tube, adding water drop by drop if needed
Rushing Between Layers The Problem: Colors blend unintentionally, creating muddy results The Solution: Test dryness with a gentle touch before adding new layers
Neglecting Brush Quality The Problem: Poor brushes leave streaks and shed bristles The Solution: Invest in decent brushes – they make all the difference
Forgetting the Sealer The Problem: Your beautiful work chips and fades quickly The Solution: Always finish with protective varnish
Similar Variations You Can Create
Once you’ve mastered the basic how to paint a village on a rock technique, these variations will keep your creativity flowing:
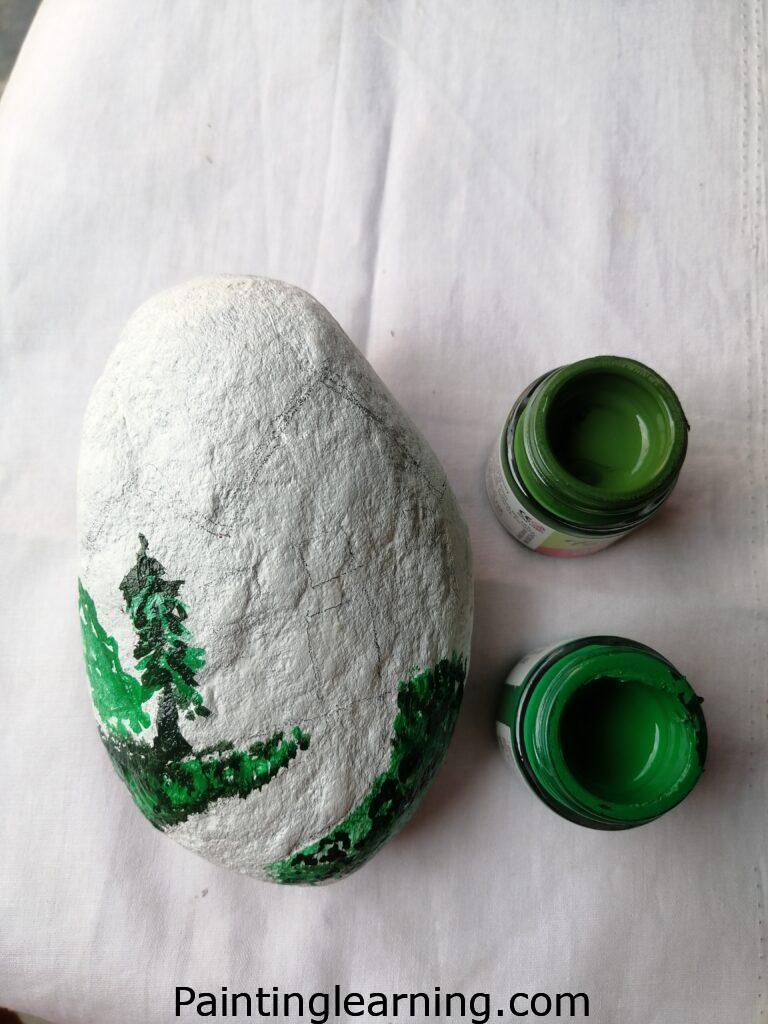
Seasonal Village Themes
- Christmas villages with snow-covered roofs
- Halloween towns with spooky details
- Spring cottages with flower gardens
- Autumn scenes with colorful leaves
Architectural Styles
- Tudor-style half-timbered houses
- Mediterranean villas with tile roofs
- Log cabins with stone chimneys
- Modern geometric buildings
Size Variations
- Tiny villages on small pebbles
- Grand scenes on large flat rocks
- Series of connected village stones
- Miniature cityscapes with multiple buildings
Color Schemes
- Monochromatic villages in single color families
- Bright, whimsical fairy-tale colors
- Muted, realistic earth tones
- Metallic accents for magical effects
Frequently Asked Questions
Q: What type of rocks work best for village painting? A: I prefer smooth, flat rocks with minimal texture. River rocks and beach stones work wonderfully. The flatter the surface, the easier it is to paint clean lines.
Q: Can I use regular craft paint instead of acrylics? A: Acrylics are definitely better for rock painting. They adhere well, dry quickly, and resist weather better than many craft paints.
Q: How long does each village rock take to complete? A: Including drying time, plan for 2-3 hours total. Active painting time is usually 30-45 minutes.
Q: Do I need artistic experience to create village rocks? A: Not at all! I’ve taught complete beginners who created beautiful villages on their first try. The key is starting simple and building confidence.
Q: Can these rocks stay outdoors? A: Yes, if you use quality acrylic paints and seal them properly. They make wonderful garden decorations.
Q: What’s the best way to store painted rocks? A: Keep them in a cool, dry place away from direct sunlight. A cloth-lined box prevents scratching.
Conclusion
Creating easy village painted rocks has brought me countless hours of joy and relaxation. These simple techniques transform ordinary stones into extraordinary miniature worlds that spark imagination and bring smiles wherever they’re displayed.
The beauty of village rock painting lies in its accessibility – anyone can create these charming pieces with basic supplies and a little patience. Whether you’re decorating your garden, creating gifts, or simply enjoying a peaceful creative activity, village painted rock instructions open up a world of artistic possibilities that will reward you for years to come.