Easy Cupcake Rocks: A Sweet and Simple Painting Project
Ever feel like your painted rocks are missing that extra sprinkle of charm?
I’ve been there—and let me tell you, cupcake rocks are pure magic.
They’re colorful, cheerful, and fun for every skill level.
Whether you’re new to rock painting or already obsessed, this is your sweet spot.
We’re diving into a project that’s cute, creative, and surprisingly easy.
It’s like baking, but no oven required—just brushes and paint.
In this guide, I’ll walk you through how to paint a cupcake on a rock—step by step.
Expect clear instructions, essential tips, and room to explore your own creative twist.
Ready? Let’s paint some sweetness!
What Are Cupcake Rocks?
Cupcake rocks are exactly what they sound like—smooth rocks painted to look like adorable cupcakes. Think pastel swirls, frosting details, and bold liners that pop right off the stone.
These aren’t just decorations. They’re mini pieces of art.
Some people keep them in their kitchen as quirky décor.
Others gift them to friends, sell them at fairs, or hide them in parks for kids to find.
What I love most? Cupcake rocks are as joyful to make as they are to share.
Let’s Define the Essentials
Before we start, here’s a quick breakdown of the key terms we’ll use throughout this tutorial:
Cupcake Rocks
Rocks painted to resemble cupcakes, complete with a frosting top, liner base, and decorative touches.
Base Color
The first solid color applied to the rock before adding designs.
Detail Brush
A small, thin brush used for outlining and adding precise details.
Varnish
A clear topcoat that seals your design and adds a protective shine.
Flat Brush
A wide, straight-edged brush perfect for laying down even base coats.
Materials Needed
Here’s what you’ll need to create easy cupcake rocks. I’ve included every item, so no surprises mid-project!
| Item | Description | Why You Need It |
|---|---|---|
| Smooth Rocks | Medium-sized, flat surface preferred | Acts as your canvas |
| Acrylic Paint | White, blue, brown, pink, black | Vibrant, fast-drying, and beginner-friendly |
| Flat Brush | Medium size | For base coats |
| Detail Brush | Thin, precise | For outlining and small accents |
| Pencil | Standard drawing pencil | To sketch your cupcake design |
| Varnish | Clear acrylic or spray | Seals and protects the final result |
| Water & Towel | Clean your brushes | Stay tidy between colors |
| Palette or Plate | For mixing or holding paint | Keeps things organized |
Simple Cupcake Rocks Step by Step
Ready to paint? Here’s how I do it, and trust me—it’s easier than you think.
1. Paint the Base Color
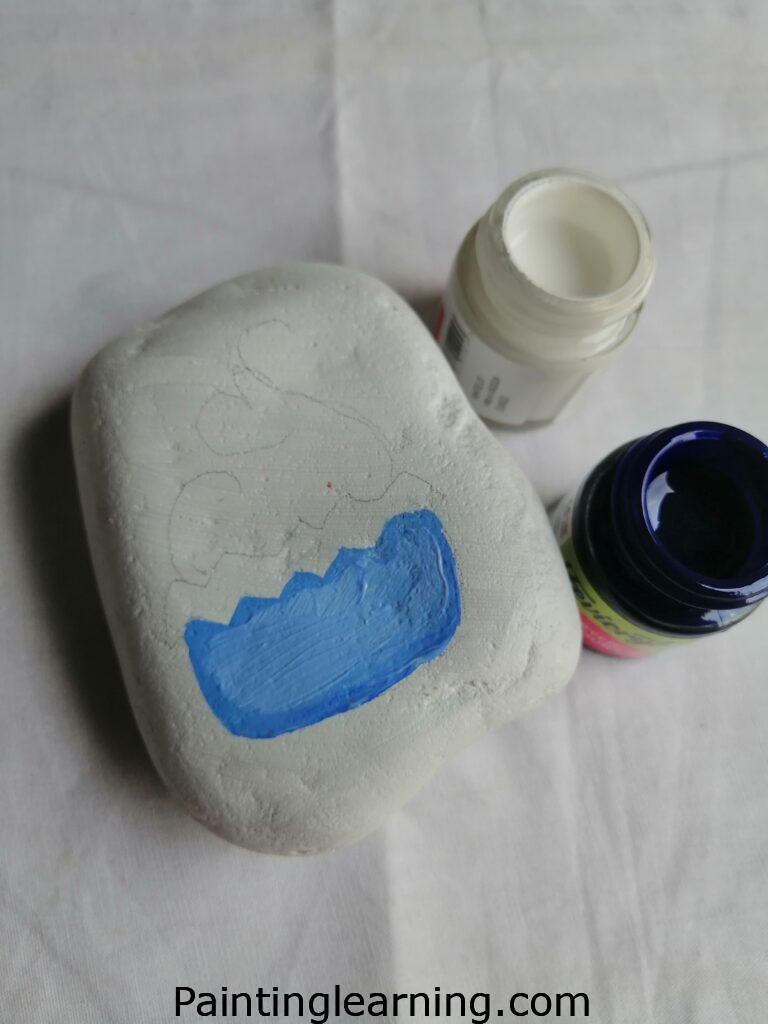
- Use the flat brush to paint the entire surface of your rock white.
- Let it dry completely—don’t rush this part.
- Once dry, lightly sketch your cupcake design with a pencil.
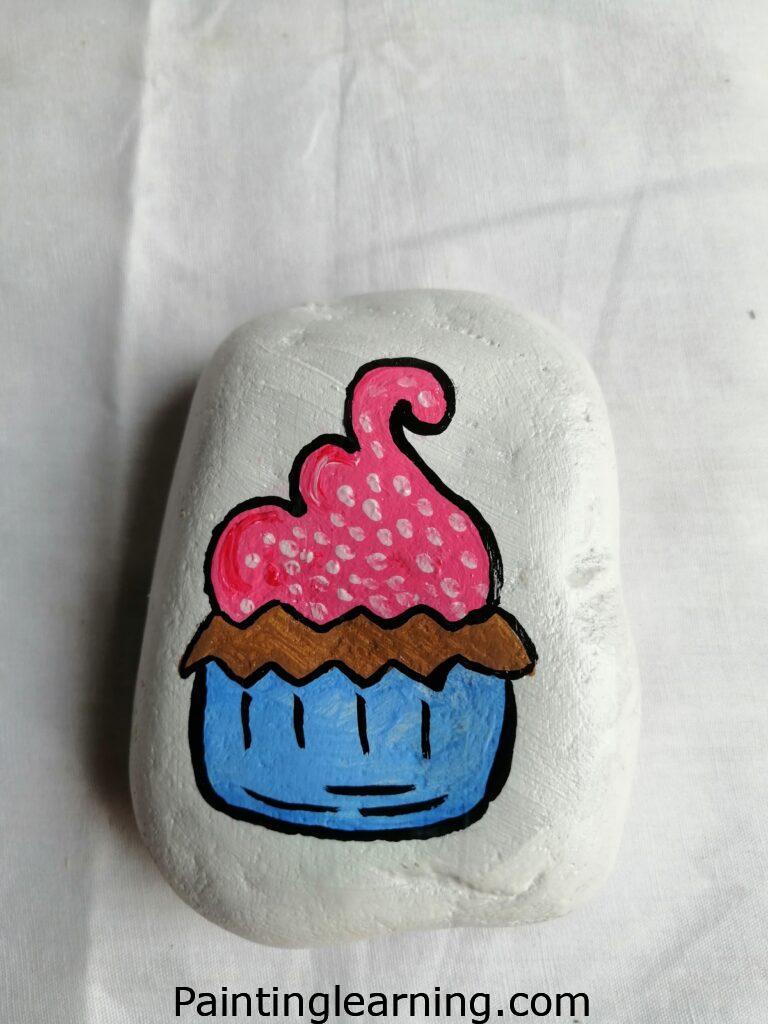
2. Add the Cupcake Colors

- Using your detail or flat brush, paint the cupcake liner with blue.
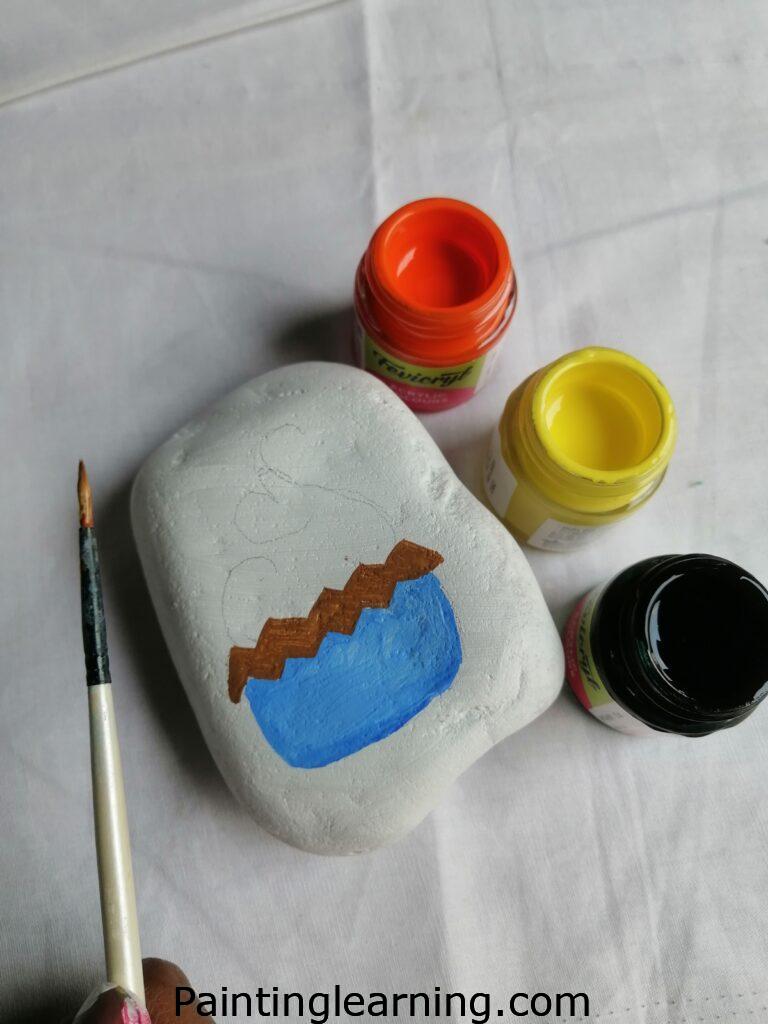
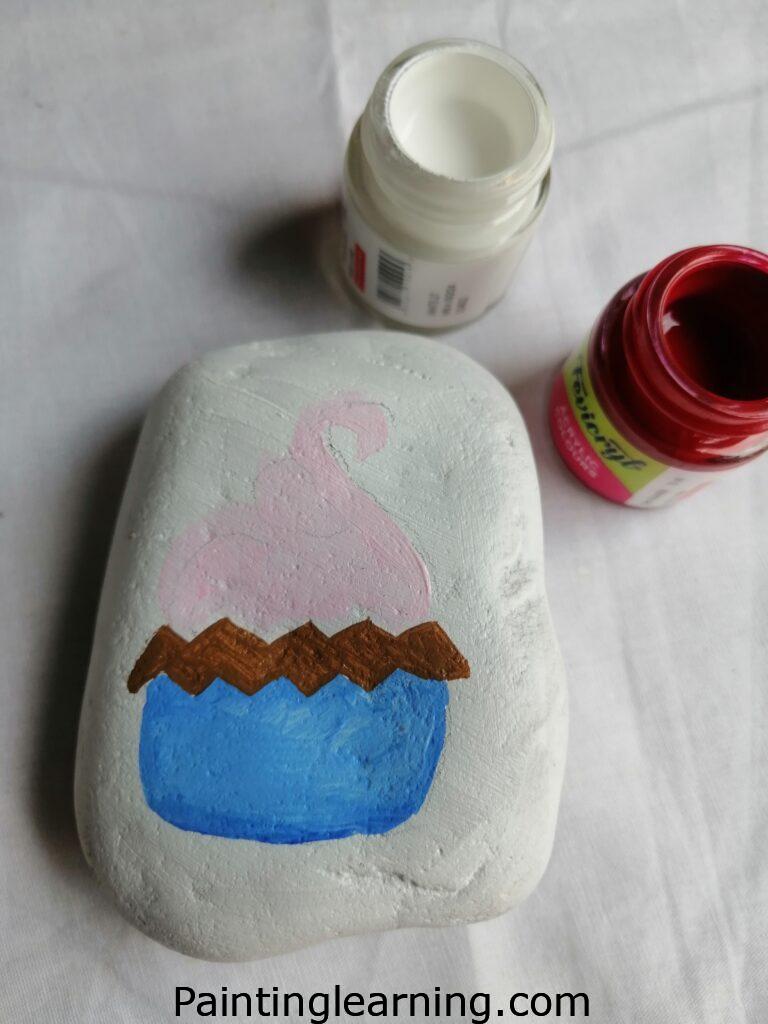
- Use brown for the cake part and pink for the frosting.
- Paint in clean sections and let each part dry before moving to the next.
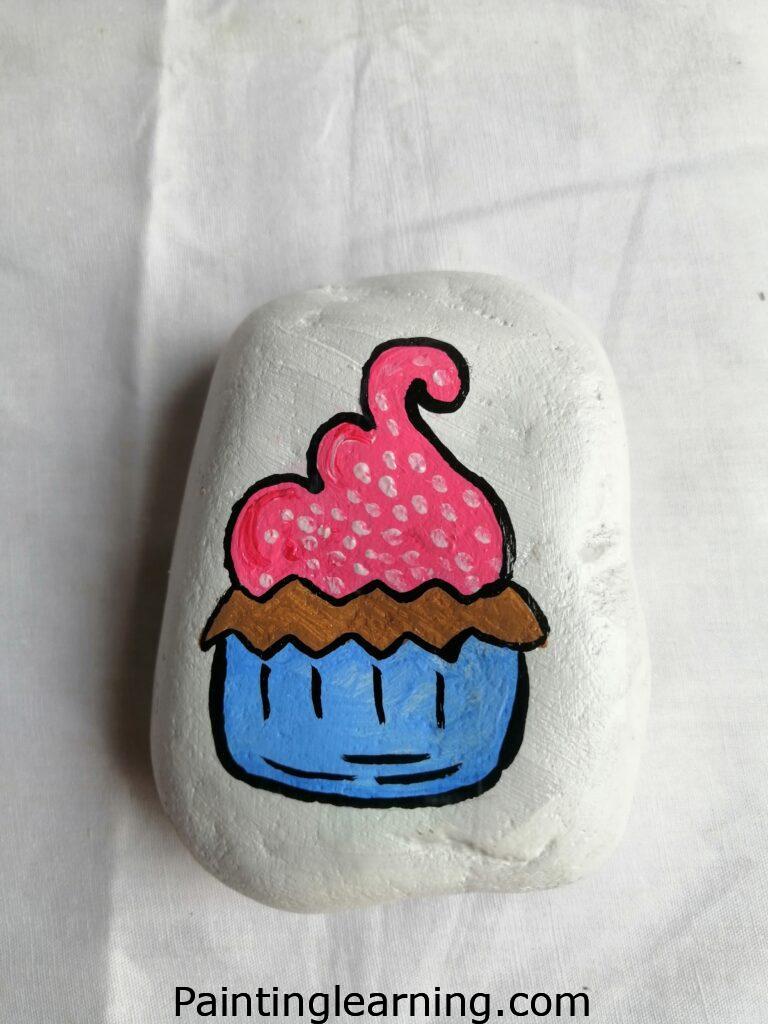
3. Outline with Black
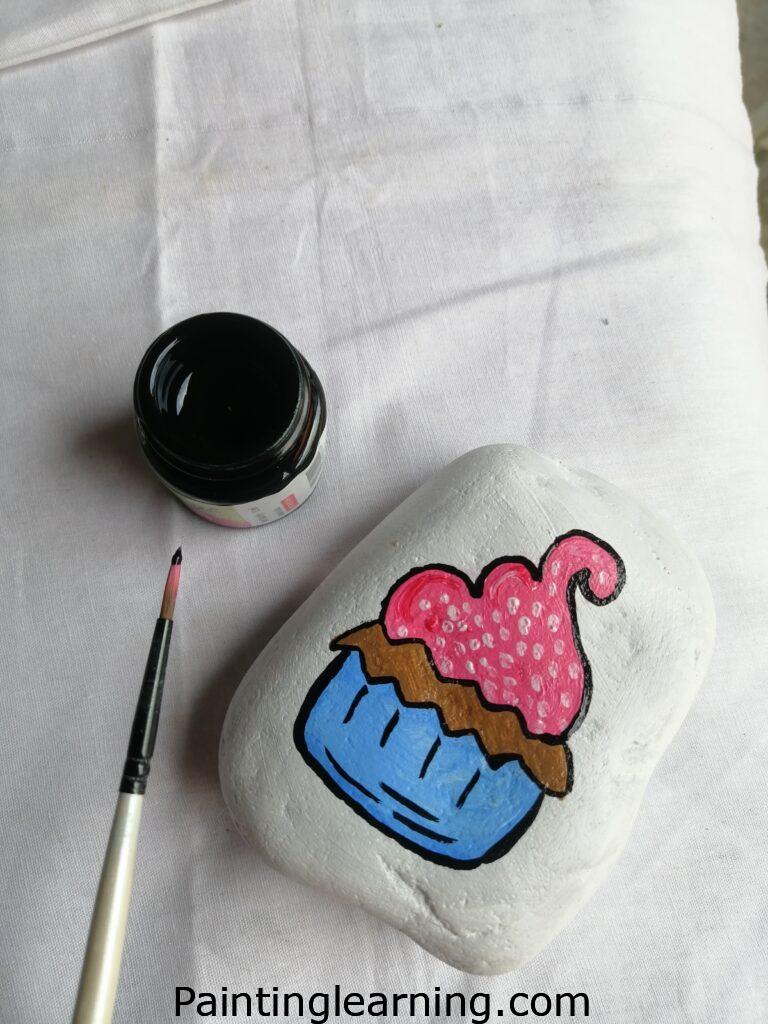
- Now grab your detail brush and use black paint to outline the cupcake.
- Add small accents if you’d like—dots, sprinkles, or lines for texture.
- Let the paint dry completely before moving on.
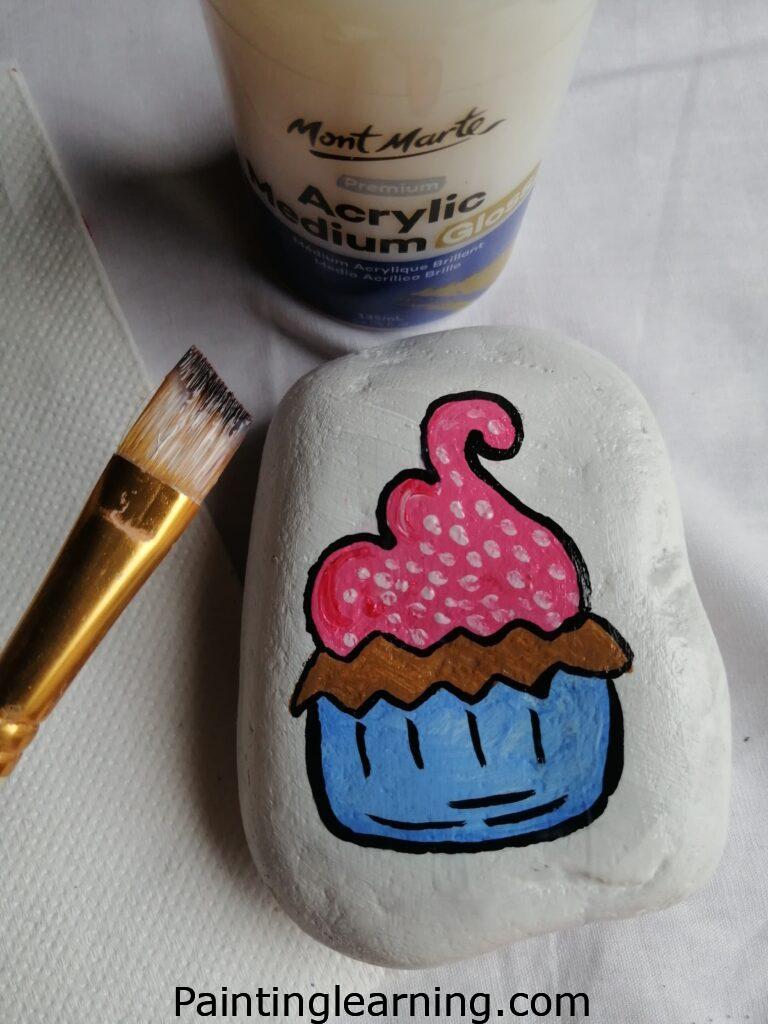
4. Seal with Varnish
- Once everything’s dry, apply a thin layer of varnish.
- Let it dry in a dust-free area.
- Done! You now have your very own cupcake rock.
Tips for Success
I’ve painted a lot of rocks—and a lot of cupcakes too. These little tricks will make the process even smoother.
- Use smooth rocks. Texture makes painting harder.
- Keep layers thin. Thick paint cracks as it dries.
- Dry between each step. Trust me—patience pays off.
- Outline carefully. A steady hand with the detail brush changes everything.
- Add character. A cherry on top, cute eyes, or a fun pattern makes it extra special.
Common Mistakes (And How to Avoid Them)
Let’s keep your cupcake rocks flawless. Here’s what to watch for:
- Rushing drying time
Solution: Work on multiple rocks at once. Rotate them as others dry. - Paint bleeding into lines
Solution: Let each color dry fully before adding the next. - Smudging the outline
Solution: Practice outlining on scrap paper first. - Skipping varnish
Solution: Always seal your work—especially if it’s going outdoors.
Variations You’ll Want to Try
Cupcakes come in all shapes and flavors—and your cupcake rocks should too.
- Holiday Themes
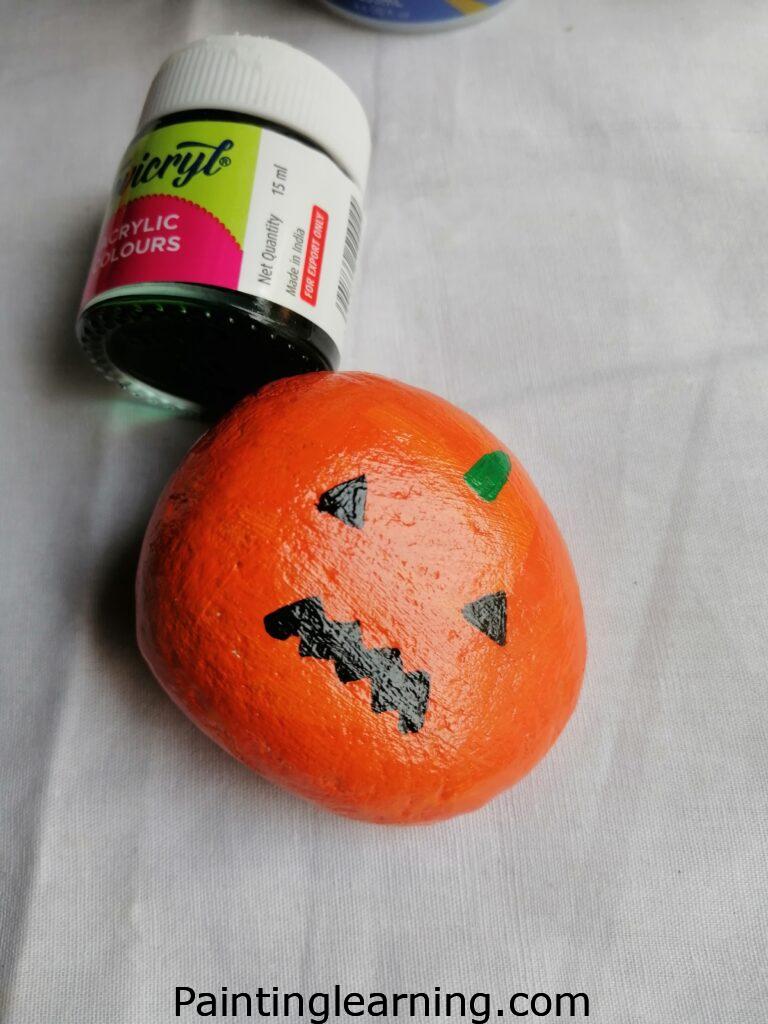
Use red and green for Christmas, orange and black for Halloween. - Kawaii Style
Add big cute eyes and blush for a Japanese-inspired look. - Mini Series
Make a set with chocolate, vanilla, strawberry, and lemon designs. - 3D Sprinkles
Glue on tiny beads or use puffy paint for texture.
FAQs
Q: What type of rocks work best for cupcake painting?
A: Go for smooth, flat stones about the size of your palm. River rocks are perfect.
Q: Can kids try this project?
A: Absolutely! Just supervise when using varnish and small brushes.
Q: How long does one cupcake rock take to make?
A: From start to finish—drying included—about 1 to 1.5 hours.
Q: Can I sell my cupcake rocks?
A: Yes! They’re great for craft fairs, Etsy shops, or as gifts.
Final Thoughts
So there you have it—easy cupcake rocks made simple. From base coat to varnish, we’ve walked through each step with care. With just a few paints, a couple of brushes, and your imagination, you can turn any rock into something delightful.
If you’ve ever wondered how to paint a cupcake on a rock, now you know exactly how. I hope you’ll try it, make it your own, and share the sweetness.
Let me know how your cupcake rocks turn out—or what tasty twist you add next!