
Easy Spider Painted Rocks: Transform Ordinary Stones into Spooky Masterpieces
Ever wondered how to paint a spider on a rock? These eight-legged creatures make perfect subjects for rock art.
The magic happens when ordinary stones become miniature canvases. Each spider painted rock tells its own story.
Your journey into this enchanting craft starts with simple materials and endless creativity.

What Are Spider Painted Rocks?
Spider painted rocks are small works of art that transform ordinary stones into captivating decorative pieces. I’ve been creating these for years, and they never fail to spark conversations. Whether you’re looking for Halloween decorations, garden accents, or just a fun rainy-day project, spider rocks deliver that perfect blend of spooky and charming.
These painted stones have become incredibly popular in recent years. The rock painting community has embraced spiders as one of the most rewarding subjects to paint. Why? Because spiders offer the perfect balance of simplicity and visual impact.
Key Terms:
- Rock painting: The art of decorating stones with paint and protective coatings
- Base coat: The initial layer of paint that covers the entire rock surface
- Detail work: Fine brushstrokes used to add legs, eyes, and texture
- Sealant: A protective coating that preserves the painted design
- Acrylic paint: Water-based paint that adheres well to rock surfaces
Materials Needed
Creating simple spider painted rocks step by step requires specific materials. I’ve learned through experience that having the right tools makes all the difference. Here’s everything you need:
| Material | Purpose | Quantity | Quality Level | Estimated Cost |
|---|---|---|---|---|
| Rocks | Base canvas for painting | 3-5 pieces | Smooth, flat surface | Free (collected) |
| Black acrylic paint | Primary spider color | 1 bottle (2 oz) | Artist grade preferred | $2-4 |
| Varnish/Sealer | Protection and shine | 1 bottle | Outdoor-rated | $5-8 |
| Detail brush | Fine line work | 1 brush | Size 0 or 00 | $3-6 |
| Flat brush | Base coating | 1 brush | Size 6-8 | $2-4 |
| Palette | Paint mixing | 1 disposable | Paper plates work | $1-2 |
| Water container | Brush cleaning | 1 jar | Any clean container | Free |
| Paper towels | Cleanup | 1 roll | Absorbent | $2-3 |
Optional Enhancement Materials:
- White paint for highlights
- Red paint for hourglass markings
- Glow-in-the-dark paint for spooky effects
- Fine-tip markers for details
Step-by-Step Spider Painted Rock Instructions
Step 1: Draw the Spider on Rocks
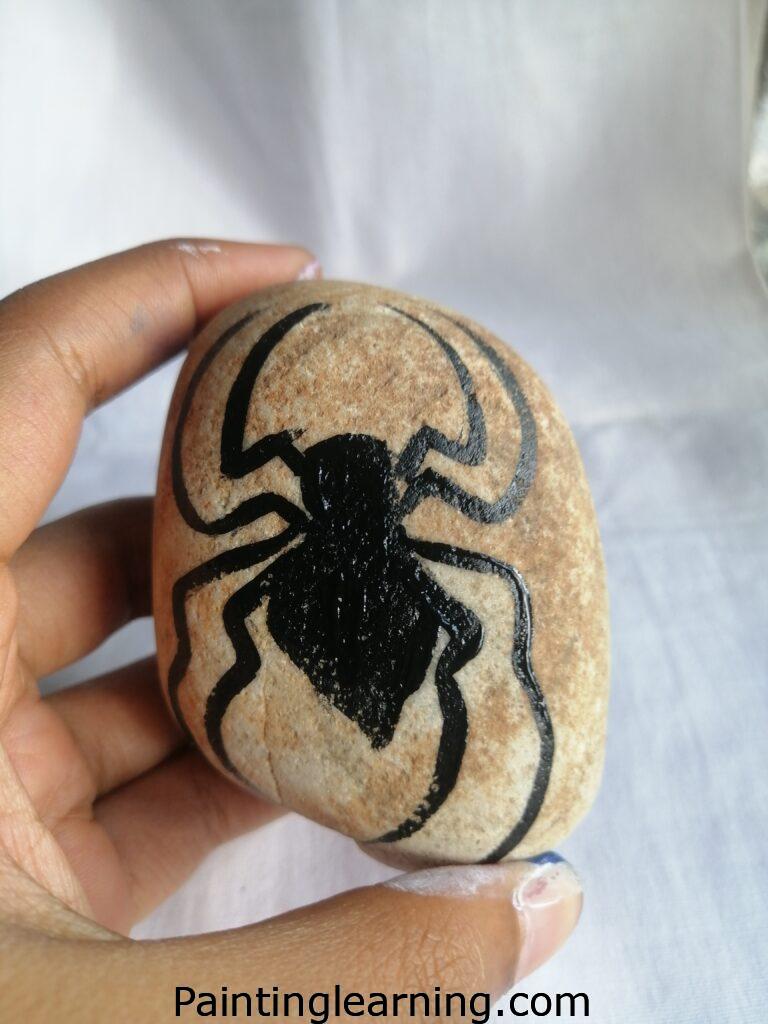
I always start by sketching the spider directly onto the rock. This gives me a roadmap for the painting process. Using a pencil, lightly outline the spider’s body and legs.
The body should be proportional to your rock size. For a 3-inch rock, I make the body about 1 inch long. The legs extend outward, creating that classic spider silhouette.
Pro tip: Don’t worry about perfection at this stage. The pencil lines will be covered by paint.
Let the initial sketch guide your brush placement. Once you’re happy with the design, it’s time to paint over those pencil lines with black acrylic paint.
Allow the paint to dry completely before moving to the next step. This usually takes 15-20 minutes, depending on humidity and paint thickness.
Step 2: Use Varnish for Sealer
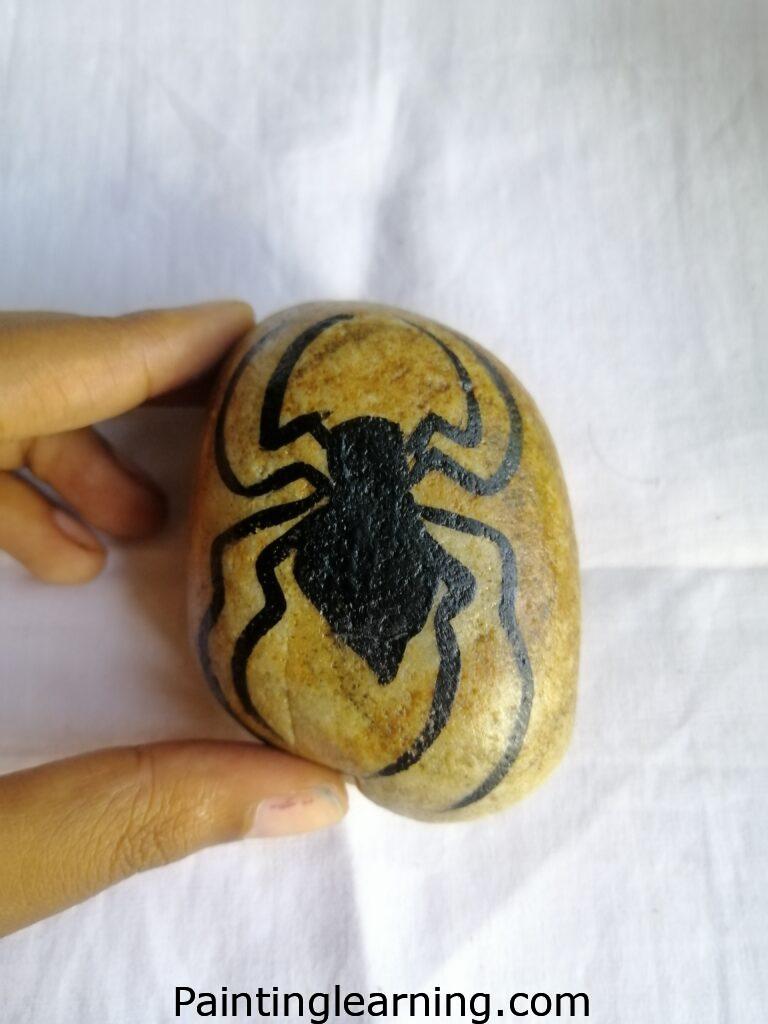
After the black paint has dried completely, apply your protective varnish. This step is crucial for outdoor durability. I use a clean, dry brush to apply thin, even coats.
Start from the center and work outward. Avoid heavy application that might cause drips or bubbles. Two thin coats work better than one thick coat.
Drying time: Allow 24 hours between coats and before handling.
Step 3: Spider Rocks Are Ready
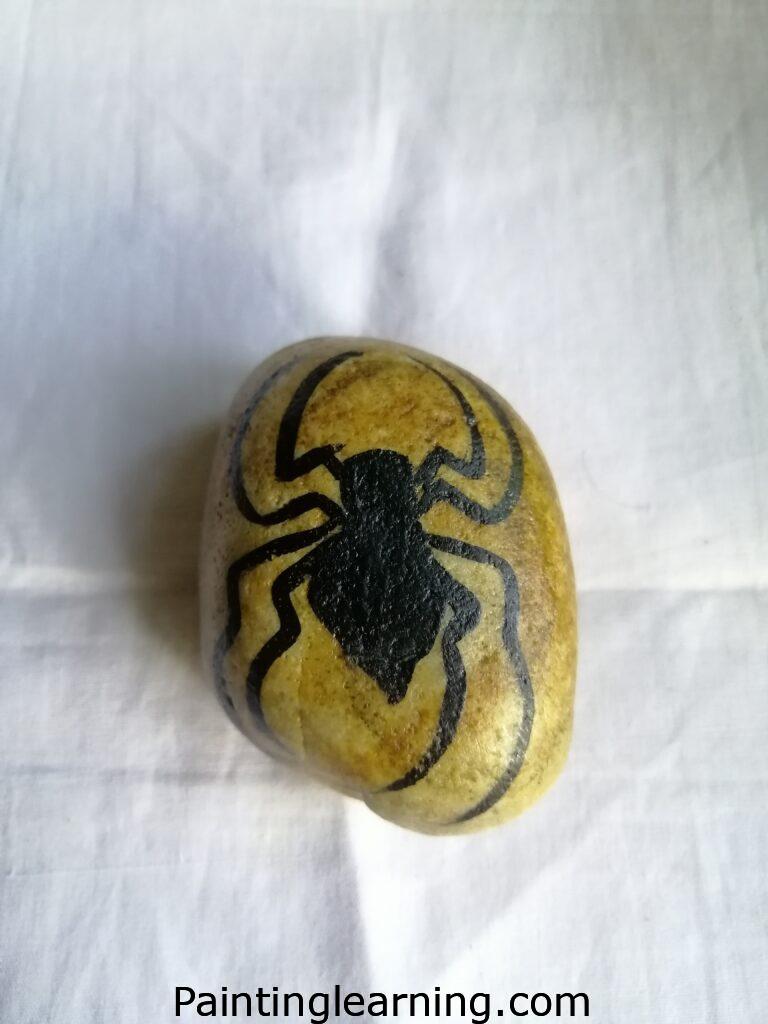
Your spider painted rocks are now complete! The varnish provides protection against weather, UV rays, and handling. These finished pieces can be displayed indoors or outdoors.
I like to create several at once. Each rock develops its own personality during the painting process.
Tips for Success
Paint Consistency: Keep your black paint slightly thinned with water for smoother application. Thick paint creates texture, while thin paint flows better for clean lines.
Brush Care: Clean brushes immediately after use. Acrylic paint dries quickly and can ruin brushes if left to dry.
Rock Selection: Choose smooth, flat rocks. River rocks work exceptionally well. Avoid porous or rough surfaces that make painting difficult.
Lighting: Work in good lighting. Natural daylight helps you see true colors and details clearly.
Patience: Let each layer dry completely. Rushing leads to smudged designs and poor adhesion.
Practice First: Try your design on paper before committing to the rock. This helps you visualize proportions and plan your approach.
Common Mistakes and How to Avoid
Mistake: Using too much paint at once Solution: Build up colors gradually with thin layers
Mistake: Skipping the sealer step Solution: Always apply varnish for longevity, even for indoor displays
Mistake: Choosing the wrong brush size Solution: Use detail brushes for legs and fine work, flat brushes for body areas
Mistake: Painting on dirty rocks Solution: Clean rocks thoroughly and let them dry before painting
Mistake: Applying varnish over wet paint Solution: Test paint dryness with a gentle touch before sealing
Mistake: Overcomplicating the design Solution: Simple spiders often look more effective than complex ones
Similar Variations You Can Make
Black Widow Spider: Add a red hourglass marking on the abdomen using a fine brush. This creates a more realistic and recognizable spider variety.
Colorful Garden Spider: Use brown, yellow, or orange as base colors. Add striped patterns on the legs for garden spider authenticity.
Glow-in-the-Dark Spider: Mix glow paint with your black acrylic for nighttime effects. Perfect for Halloween displays.
Spider Family: Create different sizes representing adults and babies. Group them together for a family scene.
Web Background: Paint a web pattern on the rock before adding the spider. This creates depth and context.
Realistic Texture: Use a dry brush technique to add hair-like texture to the spider’s body and legs.
Displaying Your Spider Rocks
Once your easy spider painted rocks are complete, the fun begins. I’ve found countless ways to display these miniature masterpieces.
Garden Integration: Place them among plants or along pathways. They add whimsy to outdoor spaces while weathering beautifully.
Indoor Arrangements: Group several together on mantels, shelves, or as table centerpieces. They conversation starters at parties.
Seasonal Decorating: Perfect for Halloween, but don’t limit yourself. These work year-round for nature lovers.
Caring for Your Spider Rocks
Proper care extends the life of your painted rocks significantly. I’ve had spider rocks lasting over five years with proper maintenance.
Cleaning: Gently dust with a soft brush. Avoid harsh chemicals that might damage the paint or varnish.
Storage: Store indoors during extreme weather if possible. While varnish provides protection, extreme temperature changes can cause cracking.
Touch-ups: Keep leftover paint for minor repairs. Small chips can be easily fixed with a detail brush.
The Psychology Behind Spider Rock Art
There’s something fascinating about transforming our fear into art. Spiders often evoke strong reactions, but painting them creates a different relationship with these creatures.
I’ve noticed that people who initially feel uncomfortable with spiders often become more accepting after creating spider art. The process transforms fear into appreciation.
Therapeutic Benefits: Rock painting offers stress relief and mindfulness. The focus required pushes away daily worries.
Advancing Your Skills
As you become comfortable with basic spider designs, challenge yourself with more complex projects.
Anatomical Accuracy: Study real spider photos to improve your realism. Notice how legs attach to the body and how they bend.
Color Theory: Experiment with complementary colors. A purple spider on a yellow rock creates striking contrast.
Composition: Consider the spider’s placement on the rock. Off-center positioning often creates more dynamic visual appeal.
Teaching Others
Spider painted rocks make excellent teaching projects. I’ve used them in classrooms and community centers with great success.
Age Appropriateness: Children as young as 6 can participate with supervision. Teenagers often create the most creative variations.
Group Projects: Consider organizing spider rock painting parties. They’re perfect for Halloween gatherings or nature-themed events.
Troubleshooting Common Issues
Paint Won’t Adhere: Clean the rock more thoroughly. Sometimes invisible residue prevents proper adhesion.
Brush Strokes Showing: Thin your paint slightly and use longer, smoother strokes. Practice creates muscle memory.
Uneven Coverage: Apply paint in thin layers, allowing each to dry before adding the next.
Environmental Considerations
When displaying spider rocks outdoors, consider their environmental impact. Use non-toxic paints and avoid placing them where they might confuse wildlife.
Eco-Friendly Options: Water-based acrylics are generally safe once dried. Avoid lead-based or solvent-heavy paints.
Placement Ethics: Don’t place painted rocks in pristine natural areas. Stick to gardens and human-modified spaces.
FAQs
Q: How long do spider painted rocks last outdoors? A: With proper sealing, expect 2-3 years of good appearance. Indoor rocks last indefinitely with minimal care.
Q: Can I use other colors besides black? A: Absolutely! Brown, dark gray, or even creative colors work well. Black is traditional but not required.
Q: What if I make a mistake while painting? A: Let it dry completely, then paint over it. Acrylic paint covers well when dry.
Q: Are spider rocks safe around pets? A: Once fully dried and sealed, they’re safe. Keep pets away during the drying process.
Q: Can children do this project? A: Yes, with adult supervision. It’s actually a great way to teach brush control and patience.
Q: How do I make the spider look more realistic? A: Study real spider photos, pay attention to leg proportions, and add subtle shading with lighter colors.
Summary
Creating easy spider painted rocks combines artistic expression with accessible crafting. The simple process of drawing, painting, and sealing transforms ordinary stones into captivating decorative pieces. Whether you’re seeking Halloween decorations, garden accents, or therapeutic creative time, spider rocks deliver satisfaction and visual impact.
The beauty of this craft lies in its simplicity and endless variation possibilities. Each rock becomes a unique canvas, and each spider develops its own character. From basic black designs to elaborate colorful variations, the techniques you learn here open doors to countless creative possibilities. Start with simple spider painted rocks step by step, and watch your confidence and skills grow with each project.


