Easy Cat Rocks: A Fun Painting Journey You’ll Love
Ever wanted to paint something cute and simple—but still magical?
This Easy Cat Rocks tutorial brings out your creative spark in just a few brush strokes.
Get ready for a step-by-step journey that’s both relaxing and rewarding.

Meet the Project: What Are Cat Rocks?
Let me tell you what cat rocks are. They’re adorable cat figures painted right onto smooth rocks. That’s it—simple, charming, and full of personality.
I’ve painted my fair share, and every time, it’s just as fun. The paint glides on, the features take shape, and suddenly—bam—you’ve got a little cat in love staring back at you from a stone.
These are great for:
- Gifts for friends
- Desk or shelf decor
- Craft fairs or hobby time
- Kids and adults looking for a calming art activity
What Makes This Project Special?
Let’s be real. Some crafts are just meh. But this one? It checks all the boxes:
- Simple cat rocks step by step: No fuss, no confusion.
- Relaxing: Painting = therapy.
- Creative: You choose the color combos, whiskers, and tail swirls.
- Personal: Each cat rock turns out different, just like real cats.

Key Terms You Should Know
Let’s break down a few terms so everything stays super clear.
Base Color
The first layer of paint that covers the entire rock before you start designing.
Detail Brush
A small, fine brush used for adding small lines like whiskers, eyes, and outlines.
Varnish
A shiny protective layer that seals the paint and gives the rock a nice finish.
Aash Color
A light gray shade (like ash) used for creating soft contrast.
Cat in Love
A playful theme where your painted cat shows expressive, affectionate details—think heart-shaped tails or big dreamy eyes.
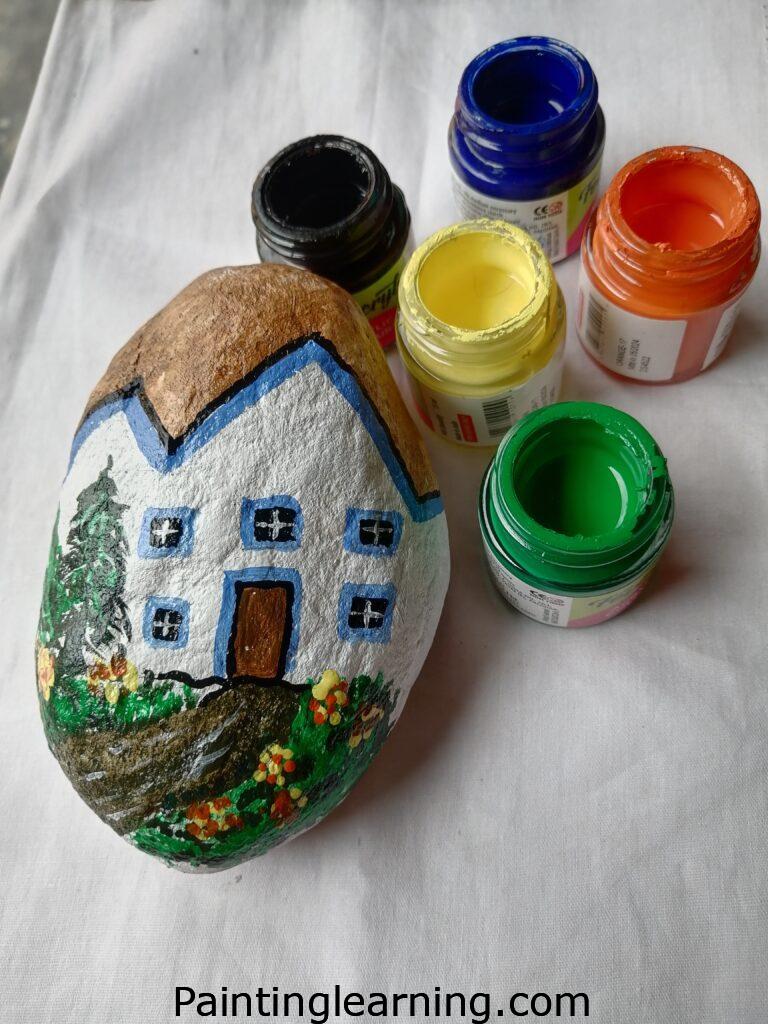
Materials Needed
Here’s what you’ll need to bring your cat rock painting ideas to life. I put everything into a clear table to help you organize.
| Item | Description |
|---|---|
| Rocks | Smooth, palm-sized, clean and dry |
| Acrylic Paint | White (base), Orange, Aash (gray tone), Black |
| Paint Brushes | Flat brush (for base), Detail brush (for lines, eyes, whiskers) |
| Varnish | To seal the paint and add a protective glossy finish |
| Water & Cloth | For rinsing brushes and cleaning up |
| Palette/Plate | For mixing and holding paint |
Step-by-Step Cat Rock Painting Instructions
Now let’s get into the fun part. I’ll walk you through the process I use every single time. Keep it simple and trust the steps.
1. Base Color First

- Use the white acrylic paint to fully coat your rock.
- Let it dry completely before moving to the next step.
- This creates a nice, clean surface to paint on.
2. Paint the Cat Colors


- Using orange and aash paint, design the cat. Think body shape, fur patches, and playful ears.
- You can copy a reference or freestyle—totally your call.
- Let this layer dry fully too.
3. Add Black Details

- Grab your detail brush and dip into the black paint.
- Outline the cat, draw eyes, paws, and whiskers.
- When it’s fully dry, apply varnish to seal it all in and give it that nice shine.
4. Done! Say Hello to Your Cat Rock

- You now have a completed cat rock.
- Cute, handmade, and absolutely display-worthy.
- Bonus points if your cat looks like it’s in love—sweet eyes or heart-shaped tails work wonders!
Tips for Success
Want your cat rock to come out purr-fect? Try these:
- Let each layer dry before adding the next.
- Use smooth rocks—rough ones make painting harder.
- Keep a wet cloth nearby for quick clean-ups or brush wipes.
- Don’t rush the details. A little patience makes a big difference.
- Practice on paper if you’re nervous about the design.
Common Mistakes (And How to Avoid Them)
We’ve all been there. Here’s what to watch out for:
- Painting over wet layers: Makes colors bleed. Always dry between steps.
- Skipping the base coat: Your colors won’t pop without it.
- Using too much water: Acrylics get runny. Just a little water is enough.
- Forgetting varnish: No seal = smudged cat. Don’t skip this.
Similar Variations You Can Try
Once you’ve painted your first cat, you’ll probably want to paint a dozen more. Try these fun ideas:
- Sleeping cat rocks – closed eyes, curled body.
- Halloween cat – black fur, spooky yellow eyes.
- Rainbow cat – go wild with colors for a funky look.
- Cartoon cat couple – two rocks that fit side-by-side as a “cat in love” duo.
Each version brings a new twist to the basic easy cat rocks concept.
FAQs
Q: How long does each rock take to paint?
Usually about 30–45 minutes, depending on drying time.
Q: Can I use other types of paint?
Acrylic works best. Other paints might not stick or last as long.
Q: Do I need to use varnish?
Yes. It keeps your art safe from water and wear.
Q: Can kids do this craft?
Definitely. Just help them with the detail brush or varnish part.
Q: Where can I find good rocks?
Try garden centers, riversides, or craft stores. Smooth and palm-sized is ideal.
Final Thoughts
That’s everything you need to know about how to paint a cat on a rock. This guide gives you the full breakdown—from materials to sealing your final product.
Cat rocks are more than just a cute craft. They’re relaxing, personal, and full of personality. Whether it’s a gift or your own little collection, your painted cat in love will bring smiles every time.
Got questions? Tried a new twist on this project? I’d love to hear from you—drop your ideas or pics anytime.